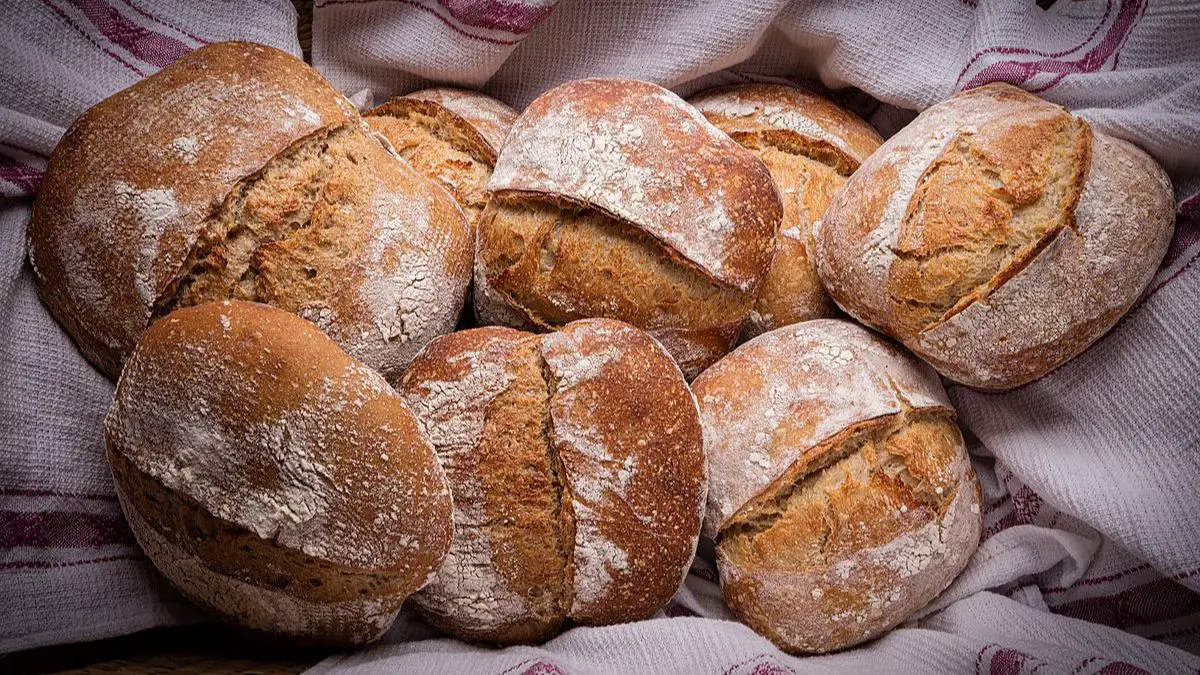
Sourdough bread is made with yeast and bacteria already in the flour. It doesn’t have any yeast, milk, oils, or sweeteners. When it comes to bread, it’s about as natural as you can get. Traditional sourdough recipes contain three main ingredients: flour, salt, and a starter culture made of flour and water.
Is Sourdough Bread Good for you?
There are a lot of vitamins and minerals in sourdough bread. But the same things that make sourdough bread so healthy can make things worse for people with certain health problems.
General Body Functions
Sourdough bread has a lot of nutrients that are easy for the body to use. This is because of how the lactic acid bacteria in the bread work with these nutrients. These bacteria break down certain types of acid that are often found in other kinds of bread. This makes nutrients like folate, potassium, and magnesium more available.
Your body needs folate to make DNA, other genetic materials, and new cells. Potassium also helps your cells do their jobs. It ensures your heart beats at the right rate, helps your nerves and muscles work right, and is needed to make proteins and break down carbs. Magnesium controls how well your muscles and nerves work, how much sugar and protein are in your blood, and helps your body make protein, bones, and DNA.
Disease Prevention
The lactic acid bacteria are also why sourdough bread has more antioxidants than other kinds of bread. Antioxidants keep your cells from getting damaged in ways that can lead to cancer, heart disease, Alzheimer’s disease, and other serious diseases.
Lower Blood Sugar Levels
Eating sourdough instead of white bread may help your blood sugar stay more stable. The bacteria that help make sourdough also change how the bread’s starch works.
It changes the shape of the molecules in the bread, so your body absorbs them more slowly. This lowers the glycemic index of the bread. This means that after eating a slice of sourdough bread, your insulin levels won’t go up as much as they would after eating white bread.
Improved Digestive Health
Some studies show that the fiber in sourdough bread helps feed the “good” bacteria in your intestines. The digestive system needs these bacteria to stay stable and healthy. Some people may be able to break down sourdough bread better than white bread.
Sourdough also has less gluten than other bread. The acid in the bread seems to break down the gluten. So, people who can’t digest gluten might find sourdough easier on their stomachs.
What are the Risks of Eating Sourdough Bread?
Even though sourdough bread is healthy, that doesn’t mean it’s risk-free. Before you eat sourdough bread, think about the following:
Contamination
Making sourdough at home is fun for a lot of people. Even though this is usually safe, getting a contaminated sourdough starter is possible. Your sourdough starter might be spoiled if:
- never bubbles
- develops green, pink, orange, or black patches,
- appears “fuzzy”
Throw your sourdough starter away if it’s exhibiting any of these qualities.
Not Gluten-Free
Even though sourdough bread often has less gluten than other bread, it is not gluten-free. People who can’t digest gluten may find it easier to digest sourdough, but people with celiac disease will probably still have symptoms if they eat sourdough bread. If you can’t eat gluten or have celiac disease, talk to your doctor before you start eating sourdough bread.
Is Sourdough Bread Better for you than Whole Wheat?
Instead of whole wheat or white bread, sourdough bread would be the healthy choice. Sourdough bread is healthier, easier to digest, and full of probiotics, which are good for your gut health. Sourdough bread is better for you than white bread or whole wheat bread. Even though it has the same nutrients, it is easier to digest and more nutritious because it has less phytate. The prebiotics also makes your gut bacteria happy, making your blood sugar less likely to spike.
How to Make Sourdough Bread?
Ingredients
- One tablespoon
- active sourdough starter
- 75 grams
- all-purpose flour or bread flour (1/2 cup)
- 75 grams
- water (1/3 cup)
For the dough:
- 525 grams
- water (2 1/2 cups), divided
- One tablespoon
- salt
- 700 grams
- all-purpose flour or bread flour (5 1/2 cups)
Instructions
Make sure your sourdough culture is active. If you’ve been keeping your sourdough in the fridge, take it out 2 to 3 days before you want to bake. Feed it daily to ensure it’s strong and active before making the bread.
Make the leaven and let it sit overnight. Please put all the leavening ingredients in a large bowl the night before you want to make the dough, and mix them to make a thick batter. Cover and leave at room temperature for about 12 hours or overnight.
Test that the leaven is ready. Most of the time, the leaven is ready to use when the top is very bubbly. To be sure, put a small spoonful of the leaven in a cup of water and see if it floats. If it does, the leaven is ready.
Dissolve the salt. Mix 50 grams (about 1/4 cup) of water and the salt for the dough in a small bowl. Put it aside and stir it to ensure the salt dissolves.
Mix the leaven and water. Add the dough’s last 475 grams (2 cups) of water to the bowl of yeast. Mix the leavening agent into the water with a spatula or your hands to break it up and help it dissolve. It’s fine if the leaven doesn’t completely dissolve and there are still a few lumps.
Add the flour. Add the flour and stir with a rubber spatula until there are no more dry bits of flour and the dough0000000000000000000 is very hairy.
Rest the dough (30 minutes, or up to 4 hours). Use plastic wrap or a clean kitchen towel to cover the bowl. Let the dough sit for at least 30 minutes and up to 4 hours. This is the autolyze stage when the flour has absorbed all the water and enzymes start breaking down the starches and proteins in the flour.
Mix in the salt. Pour the salt that has been dissolved into the dough. Use your fingers to pinch and squeeze the dough to work the liquid and salt into it. At this point, the dough will feel very wet and loose.
Begin folding the dough (2 1/2 hours). To fold the dough, grab it on one side, lift it, and fold it over on top. Move clockwise from the top of the bowl and fold the dough four times (or give the bowl a quarter turn in between folds). Let the dough rest for half an hour, then do it again. Do this six times, every half hour, for a total of 2 1/2 hours. The dough will start rough and very loose, but it will smooth out and get tighter as you keep folding it.
Let the dough rise undisturbed (30 to 60 minutes). After folding the dough, cover it and leave it alone for 30 to 60 minutes until it looks puffy. This dough won’t double in size like regular bread dough, but it should look bigger than when you started.
Divide the dough. Spread some flour on a work surface, then turn the dough on it. Split the dough in half with a pastry scraper. Don’t work the dough too hard, or it will lose air.
Shape the dough into loose rounds. Sprinkle some flour on top of each piece of dough. Use your pastry scraper to form each one into a loose round. This isn’t the final shape; it’s just a first to get the dough ready for the next step. Shape them into rounds by slipping your pastry scraper under the edge of the dough and then scraping it around the curve of the dough, like turning left when driving. Do this a few times to build up the surface tension of the dough (it’s easier to understand if you try it yourself!). If you need to, dust your pastry scraper with flour, so it doesn’t stick to the dough.
Let the dough rest (20 to 30 minutes)
After shaping both pieces of dough, let them rest for 20 to 30 minutes to let the gluten relax again. Then, shape them again. Rest the dough (20 to 30 minutes).
Prepare two bread-proofing baskets, colanders, or mixing bowls. Line with clean kitchen towels, two bread proofing baskets, colanders, or clean mixing bowls. Dust them with a lot of flour. Use your fingers to rub the flour into the cloth on the bottom and sides. Use more flour than you think you’ll need. The flour should cover the towel in a thin layer.
Shape the loaves. Sprinkle flour on top of one of the dough balls. With a pastry scraper, turn it over so that the floured side is against the board and the sticky side is facing up. Make the loaf the same way you folded the dough: Grab the bottom edge of the dough, gently pull it up, and fold it over onto the middle of the dough. Do the same thing with both sides of the dough. Please do the same thing with the top of the dough, but when you fold it down, grab the bottom lip with your thumb and gently roll it right-side up. Do the same thing with the other ball of dough. If it’s not quite round or doesn’t seem tight, cup your hands around the dough and roll it against the counter to shape it.
Sprinkle a lot of flour on the tops and sides of the shaped loaves. Put them upside down in the proofing baskets, so the seams from shaping are on top. Transfer to the proofing baskets.
Let the dough rise (3 to 4 hours, or overnight in the fridge). Cover the baskets loosely with plastic wrap or put them in clean plastic bags. Let them rise at room temperature for 3 to 4 hours, or until they look puffy and billowy. You could also cover the basket and put it in the fridge for 12 to 15 hours to let the dough rise slowly. If the bread rises overnight, bake it straight from the fridge; there’s no need to warm it up first.
Heat the oven to 500°F. Place two Dutch ovens or heavy-bottomed pots with lids in the oven and heat to 500°F. (If you don’t have two pots, you can bake one loaf after the next.)
Take one of the hot Dutch ovens out of the oven and remove the lid. Place the loaf seam-side down in the pot. Do the same with the other loaf. (If your loaf sticks to the basket, see the note with the recipe.) Transfer the loaves to the Dutch ovens.
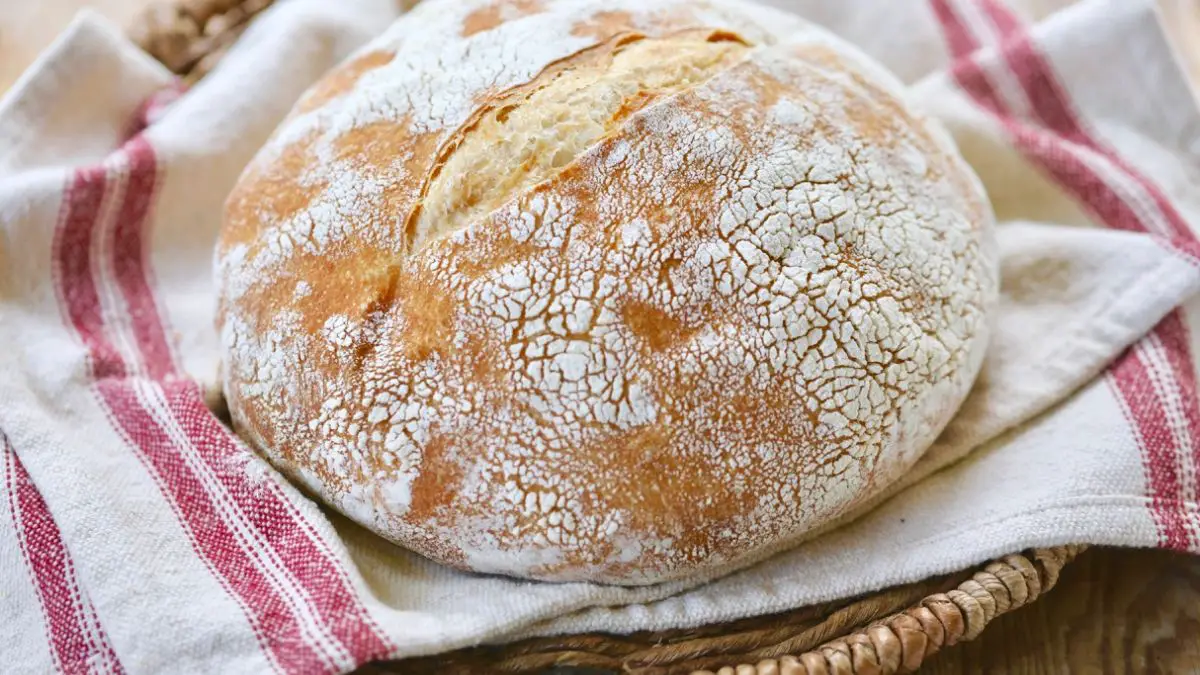
Score the top of the loaf. Use a dull knife, a sharp knife, or a knife with serrated edges to quickly cut lines into the top of the loaves. Try scoring at a slight angle so that you’re almost cutting parallel to the surface of the loaf. This gives the loaves the distinctive “shelf” along the score line.
Bake the loaves for 20 minutes. Cover and bake for 20 minutes.
Reduce the oven temperature to 450°F and bake for another 10 minutes. Please don’t open the oven to check on the loaves at this point; turn it down to 450°F. Keep baking for ten more minutes.
Remove the lids and continue baking for 15 to 25 minutes. Uncover the pots to release any remaining steam. At this point, the loaves should have “sprung” up, have a dry surface, and be just beginning to show golden color.
Bake another 15 to 25 minutes. Continue baking uncovered until the crust is deeply browned; aim for just short of burnt. It might feel a bit unnatural to bake loaves this fully, but this is where a lot of the flavor and texture of the crust comes in.
Cool the loaves completely. When done, lift the loaves out of the pots using a spatula. Transfer them to wire racks to cool completely. Wait until they have cooled to room temperature before slicing.
Equipment
- Plastic wrap or other covering for the bowls
- Pastry scraper
- Bread proofing baskets, colanders, or mixing bowls
- Dutch ovens or large heavy-bottomed pots with lids
- Lame, sharp knife, or serrated knife
The Sourdough Starter
You can make your starter in about five days. On the first day, make a batter out of flour and water and let it sit at room temperature overnight. Wild yeast is everywhere — on the flour, in the air, on your hands — and they will quickly start to thrive in this culture. Over the next few days, you’ll need to feed the yeast and bacteria by pouring off some of the cultures and adding new flour and water. You’ll know it’s ready to make bread when, after a few hours of feeding, the culture bubbles up and smells sour but fresh.
Once you have a starter, you never have to make another one. On average, I keep mine in the refrigerator and feed it once a week. When I want to make a loaf of bread, I take it out a few days ahead and feed it once a day to strengthen it again.
What Makes Sourdough Special?
Almost everyone who has tried sourdough will say that the tang makes it stand out. I agree, and the tartness of sourdough bread comes from the same bacteria that gives yogurt and sour cream their pucker. It is naturally present in wheat flour and yeast and comes to life when water is added to the flour. Here’s a very simple way to explain how it works:
- wheat flour + water –> natural enzymes break down starches into glucose (sugar)
- natural bacteria (tang) + glucose –> food for natural yeast
- leaven + more flour + more water –> more natural leaven
- natural yeast + food –> natural leaven (carbon dioxide)
So you start with flour and water. Nature does what it does, and after a while, you end up with a mixture with enough yeast to make bread rise. Isn’t that pretty cool? Who would have thought doing so little could lead to such a great result?
Conclusion
Because of the natural fermentation process, sourdough tastes sour and tangy. It tastes so good that you have to try it! In general, sourdough bread tastes similar to yeasted bread, but the natural acids in the sourdough starter give it a hint of sourness. Most of the time, the yeast taste in sourdough bread isn’t as strong as in other bread. The acids made in the starter are what make the bread taste sour. The ingredients and the warm environment make it easy for the starter to ferment and get its characteristic sour taste. Find a cool place for the dough to rise if you want to make a more sour loaf.