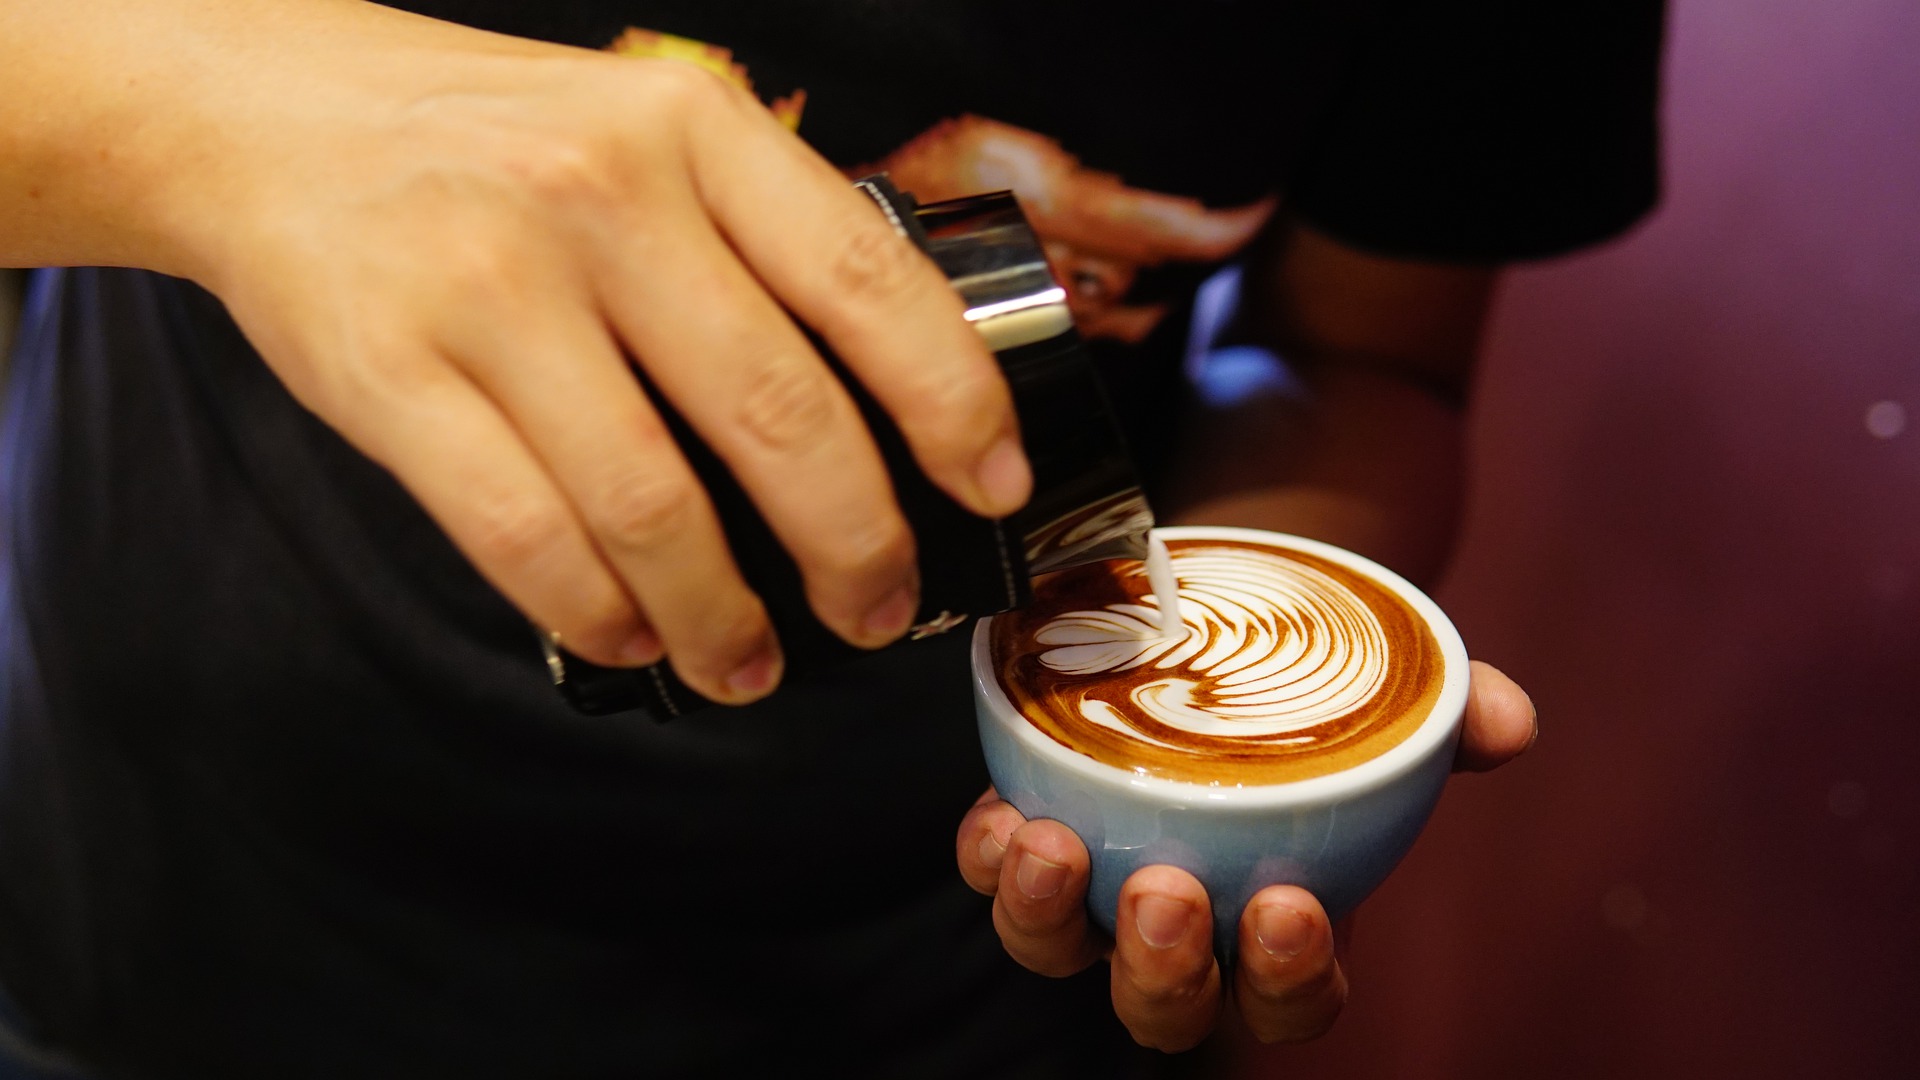
You should become proficient in the fundamental skill of steaming milk for latte art. Over-steamed milk is one of the main reasons why latte art fails. We will provide detailed instructions if you’re unsure about what to do. One of the greatest ways to create latte art is to pour milk into the cup and swirl it around slowly. You can use a thermometer, but your hand works just as well. A foundation for painting any design is created by pouring milk at a 45-degree angle. Your efforts can be ruined if you pour it too rapidly or slowly. Practice makes perfect if you want to make the ideal latte art.
Latte art is the term for designs created in the foam that tops espresso drinks, while many people think that preparing superb espresso is an art form in and of itself. Ensure your milk is properly heated and your espresso has excellent crema, the fine foam on top of the espresso shot, to create these lovely patterns. In little time, you’ll be able to free-pour or create stunning artwork in the foam!
What is Steamed Milk?
A steam wand generates steamed milk by injecting a powerful jet of steam into the milk. The heat from the steam breaks down the milk’s fat and produces minuscule air bubbles. The baristas know this as “microfoam,” and it’s essential for creating latte art.
The milk’s proteins provide the structure needed to support these tiny bubbles. The end product is an ultra-creamy milk texture that feels light on the tongue yet seems to have the consistency of house paint. It is frequently described as silky and smooth.
The latte, which contains one-third espresso and two-thirds steamed milk, occasionally with a thin layer of milk foam, is the traditional beverage to try steamed milk in. Though the concept appears straightforward, it calls for tact and sound technique. The finished product is a silky-smooth liquid ideal for espresso-based cocktails.
How to Steam Milk for Latte Art?
Here are three easy methods to steam milk for latte art at your home:
Steam Milk in the Microwave
This is a quick and simple method for steaming milk, and once you learn how long your microwave needs to cook milk, you can use it every morning. But the first time, we advise using a thermometer. The ideal temperature for the milk is 150°F.
- There isn’t much milk required if you use a frother, maybe just a quarter cup.
- You might need to heat the milk for 30-45 seconds if you have more than a quarter to a cup.
- You’ve discovered the ideal amount of time if it reads 150°F. The next time you heat milk, shorten the heating period by 10 seconds if it’s too hot. Put it in the microwave for 10 seconds if it’s too cold.
- Enjoy! No need for a difficult steam attachment.
Steam Milk on the Stovetop
You have more control over the temperature when you heat milk on the stove, but it takes a little more effort. The thermometer can be placed right within the saucepan, allowing you to remove the milk as soon as it hits 150°F.
- When measuring, keep in mind that the lesser the amount, the more you’ll need to stir to prevent the milk from scorching.
- You don’t want to add scorched milk to your coffee because milk scalds easily.
- This could take one to three minutes, depending on whether you have a gas or electric stovetop.
- Add the steamed milk or foam as preferred to your freshly prepared coffee.
Steam Milk with a Mason Jar
- Later, you’ll also require the lid and ring, but for now, leave it open.
- Please note this so you can repeat it every morning because the time will vary depending on your microwave.
- If necessary, add additional time in 10-second increments until the milk reaches the desired temperature of 150°F.
- Remove it from the microwave once it reaches 150°F, then screw the cover.
- Shake the Mason jar until the milk has doubled in volume or until the foam is to your preferred level.
- The heating and frothing may be done in the same container, making this a fantastic approach if you don’t want to dirty up too many cups, pots, or bowls in the morning.
What is Latte Art?
When heated milk is poured over microfoam to create an espresso beverage, it creates a decorative pattern or design. When producing a latte, a barista steams the milk with an espresso machine-attached steaming wand. The barista steams the milk until it is hot and foamy.
Steaming the milk alters its protein structure, giving it a more airy, smooth, and sweet mouthfeel. After that, the barista adds milk to the espresso, being sure to pour liquid milk into the espresso before adding microform.
Baristas use precision pouring to create patterns and designs on the foamy top of the latte, created when the microfoam and espresso crema merge. Additionally, baristas may use toothpicks or other objects to sculpt intricate patterns into the foam. Popular latte art shapes include hearts and flowers.
How to do Latte Art?
It takes some practice to master the specific technique of latté art. To create latte art at home, adhere to these steps:
- Make your espresso: Create an espresso shot and pour it into a mug with a beautiful layer of crema.
- Prepare the milk: Fill a small pitcher with cold milk to the amount needed to fill your coffee mug. The best milk is one with high-fat content.
- Heat the steam wand: Insert the wand into the pitcher just below the milk’s surface. Please ensure the steam wand’s tip stays about a centimeter away from the milk’s surface as it rises.
- Heat the milk: It should be heated until it begins to foam and steam. Keep the wand in the pitcher until the milk reaches 150 degrees Fahrenheit. Put the wand into the milk when it has risen by about 30% so that it swirls counterclockwise in the pitcher like a vortex. This will produce microfoam by combining foam and milk.
- Turn off the steam: Your machine’s steam wand should be disconnected before being taken out of the pitcher. Restart the steam wand after cleaning the pitcher to blow any remaining milk out.
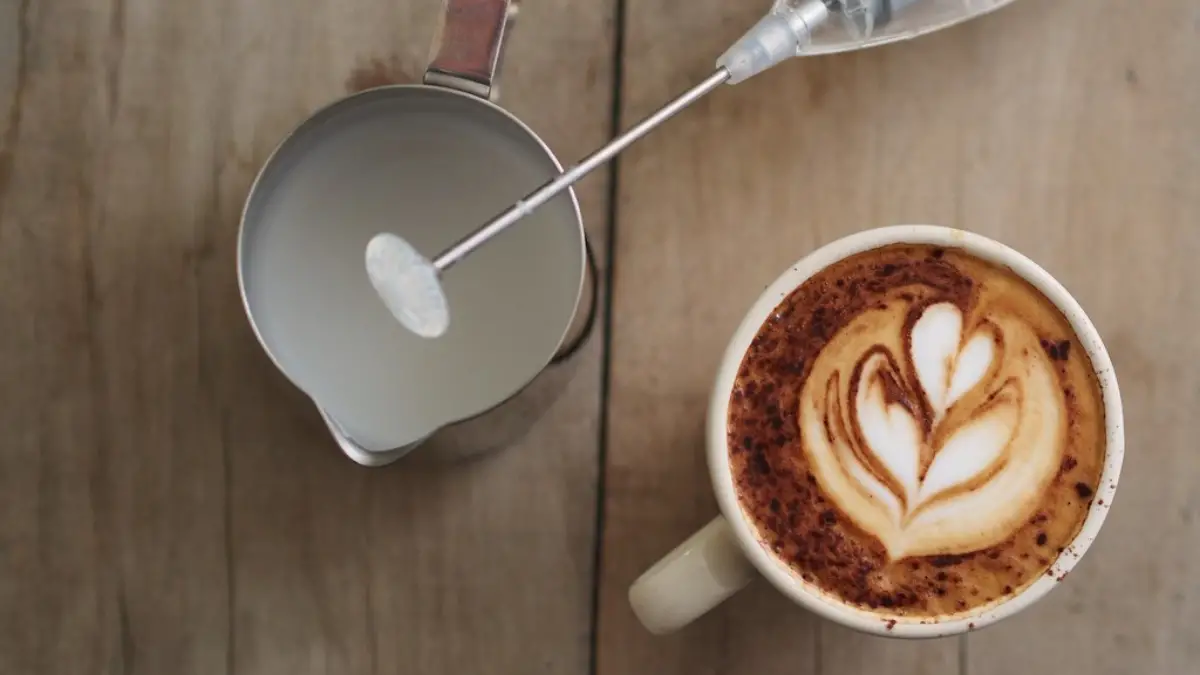
- Tap the pitcher: Any huge bubbles in the pitcher should be popped by tapping it on the counter. The steaming milk should resemble melted ice cream or wet paint and be thick with little foam bubbles.
- Pour the milk: Hold the milk pitcher a few inches away from the espresso mug at a 45-degree angle. Fill the cup halfway with the foamed milk. Ensuring the milk goes beneath the crema requires pouring from a fair distance.
- Lower the pitcher: Lower the pitcher spout to the mug’s surface and straighten out the mug.
- Make a heart shape: Fill the cup with milk until it is roughly three-quarters full to form a heart. Pour the foam into the cup in a circular motion after lowering the pitcher to the mug’s surface. Pour the milk quickly in a straight line toward the heart to complete it.
- Or make a flower shape: Alternatively, you can make a rosette flower shape. Pour the milk about an inch away from the edge of the cup. Lower the pitcher closer to the mug’s surface when the mug is about half full. Wiggle the mug from side to side with your wrist as you pour the foam. This motion will form the flower pattern.
Tips for Pouring Latte Art

When pouring latte art, keep these tips in mind:
- Pouring too fast will break the crema, and pouring too slowly will leave too much foam behind.
- Latte art depends on the quality of the foam. The best foam is made from whole milk, which has the most milk fat. You can also make latte art using high-fat non-dairy milk, such as oat milk.
- It may take practice to achieve velvety foam. You want the milk to be foamy and thick but also pourable. If your milk is a foamy clump, the bubbles might be too big in your foam. If your milk doesn’t seem thick enough, steam it for longer.
- After pouring latte art, you can make additional designs in the latte foam using toothpicks, chocolate syrup, or cocoa powder.
- Creating perfect latte art takes a little practice. Once you perfect the basic latte art shapes, you can take your latte art-making to the next level to create more elaborate forms, such as animals.
Why is it Good to Put Milk in your Coffee?
Pouring milk into your coffee is considered classy for several reasons:
- It has protein, sugar, and fats. And when the milk is heated and added to the coffee, it enhances its taste.
- When you eat dairy, its fat melts, giving your coffee a velvety.
- Lastly, heating the milk breaks down the sugar and caramelizes it. This makes your coffee naturally sweet and rich.
Some people claim that adding milk to coffee dilutes its natural flavor. Yes, it is undeniable, but it comes down to personal preference. Some individuals prefer a strong, acidic cup of coffee to start the day, while others prefer something softer and sweeter. Otherwise, adding milk doesn’t change how good your coffee tastes or how healthy it is.
Conclusion
Steamed milk and frothed latte foam are the two ingredients required to produce a latte. An espresso maker with a steam wand must prepare a latte with frothed milk. It will help if you put a pitcher of cold milk in the espresso maker to prepare a latte with steamed milk.
The key to a great latte is to give the steamed milk some texture. It allows you to give your drink the ideal consistency and flavor coating. You must use a steam wand to swirl the milk to produce a dense body. It’s crucial to stir the milk gently, but you also don’t want to overdo it because that could result in more bubbles.
Textured milk is necessary for latte art because it gives the finished beverage a velvety, smooth appearance. Making a thin, fine froth can be challenging, and using the wrong texture will damage your intricate patterns. The variety the consumer ordered is the best milk for texturizing while heating milk. Additionally, make sure to pour enough milk to fill the customer’s order.