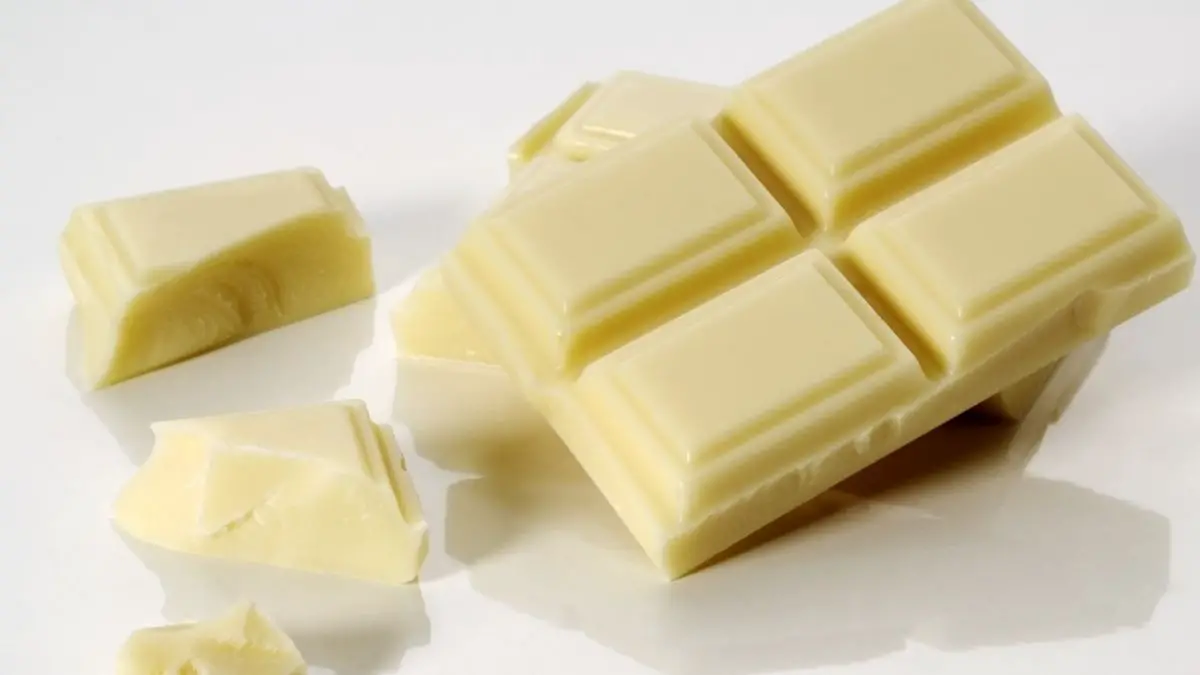
White chocolate is prepared from cocoa butter and commonly adds sugar, although it still comes from the cacao plant. In contrast, both dark and milk chocolate retain the cacao nib after processing and cocoa butter and additional sugar. Tempering refers to heating chocolate and then allowing it to cool somewhat before using it in a recipe. To know how to temper white chocolate using a double broiler, read further.
When done correctly, it gives the chocolate a lovely sheen and gratifying snap, typical of gourmet and artisanal delicacies. So, we know a bit of white chocolate and a bit of tempering. Tempered chocolate is excellent for producing homemade confectionery like truffles, peanut butter cups, and peppermint bark because it keeps its smooth, shiny, and hard texture even at room temperature.
It gives your candy a professional appearance and makes serving and transporting it much more accessible, not to mention that it tastes better since you get that wonderful snappy texture. Keep an eye out for some tempered chocolate recipes. If you dip them in molten chocolate, you won’t obtain a crisp coating, and it’ll be dull and soft, and you’ll have to keep it chilled to keep it from melting. At room temperature, tempered chocolate goods remain hard. On a scale, weigh two pounds of chocolate. Make two piles with the chocolate. In a full stainless steel bowl, place 75% of the chocolate.
How to Temper White Chocolate Using a Double Broiler?
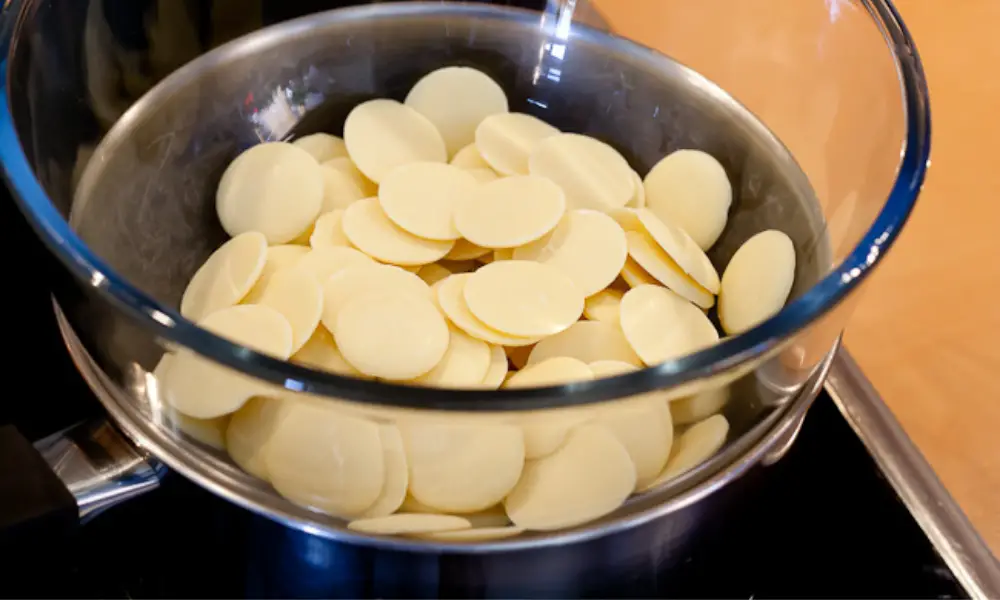
There are a few distinctions between this procedure and the microwave method. The equipment comes first and foremost. Even if you don’t have a double broiler, you can easily create one. Find a heatproof bowl that will fit inside a saucepan without touching the bottom. Fill the saucepan halfway with water and set it over low heat. Nestle the bowl into the saucepan when the water begins to simmer softly and fill it with 3/4 of the entire quantity of white chocolate you wish to use (remember, preferably at least 1 pound total).
As the mixture cooks, stir it continually. Once it hits 110 degrees, please remove it from the heat and stir in the remaining 1/4 chocolate. You can start using the melted white chocolate after it reaches 87 degrees F. Remember to keep the bowl warm while dealing with the melted chocolate by placing it on a pan filled with heated water.
Troubleshooting
While tempering chocolate is a very straightforward procedure, there are a few pitfalls to be aware of. To begin, make sure that no water comes into contact with the chocolate, as this will cause it to seize or crumble. If this happens to your batch, unfortunately, there isn’t much you can do except use it in another way. You might be able to make a white chocolate mocha or a white chocolate ganache instead if only a tiny amount of water has come into contact with the chocolate.
If the tempered chocolate has cooled below 81 degrees Fahrenheit, you can quickly fix the problem by restarting the tempering process—it will take longer, but it’s good to know the damage can be reversed. Consider what happens if the temperature of your chocolate rises to 145 F or higher, causing it to overheat or even scorch. Your batch is no longer recoverable at this point.
How to Select White Chocolate?
As previously stated, white chocolate should only contain two ingredients: cocoa butter and added sugar. Many white chocolates, particularly chips, comprise oils rather than white chocolate. It’s critical to use real white chocolate because it’s the only type that can temper. Before adding chocolate to a dish, make sure it’s already at room temperature, and it should be gleaming and snappy rather than crumbly or stained. Callebaut chocolate is a popular choice for tempering, but it’s far from the only one.
How to Store Temper White Chocolate?
White chocolate has a shorter shelf life than dark chocolate due to its high concentration of cocoa butter, although it can still survive up to 6 months if stored properly. Layout some parchment paper and pour small, thin discs of tempered chocolate onto it if you have any leftovers from your baking adventure. After they’ve dried, wrap them up and keep them in an airtight container in a cool, dark place (avoid the fridge or freezer). Chocolate should be kept in a dry, cool, dark area at a temperature of 13-15°C (55-60°F). Chocolate should not be kept in the refrigerator or placed near anything with a strong odor since it will absorb the odor and deteriorate.
How to Temper Chocolate Using the Microwave Method?
Because it requires less equipment and time, a microwave is an excellent tool for tempering chocolate. When tempering chocolate, start with at least 1 pound of chocolate because it will be easier to melt and maintain its temperature. Chop the chocolate into 3/4 and 1/4-cup chunks and place the more considerable portion in a microwave-safe bowl. Heat the white chocolate in 15-30 second increments, stirring and checking for consistency after each. Depending on your microwave’s strength, you may need to cut or extend the bursts of time you melt your batch.
Remove the white chocolate from the heat once it reaches 110 degrees F and stirs in the remaining 1/4 of the chocolate chunks. This is known as “seeding” the chocolate because it helps the melted chocolate harden and shape into the correct temper. Make sure to stir the mixture frequently and take its temperature; once it reaches 87 degrees, it’s ready to use. You may wish to nestle the bowl of melted chocolate into a pan of warm water to keep the temperature of the white chocolate as close to 87 F as possible while you’re using it.
What Temperature do you Melt Chocolate at?
The maximum temperature for your chocolate varies depending on its nature and where you are in the process. Dark chocolate, for example, should be melted between 120 and 130 degrees Fahrenheit (50 and 55 degrees Celsius), whereas milk and white chocolate should be melted between 105 and 115 degrees Fahrenheit (40 and 45 degrees Celsius). The emulsion of cocoa solids and cocoa butter can keep stable for months if kept at a steady temperature below 70°F (preferably between 65 and 68°F) and a humidity of less than 55 percent.
Why is my Melted Chocolate Clumping?
Moisture and excessive heat are two things that chocolate despises. Even the tiniest amount of moisture can create clumping. When cooks try to melt a large bowl of chocolate chunks over a water bath, it happens many times. The issue arises when they do not reduce the flame once the water has reached a boil. When chocolate is melted, the ingredients—primarily cocoa powder, sugar, and cocoa butter—distribute uniformly and form a fluid mass. Moisture will form a syrup with sugar and cocoa particles, forming gritty clumps.
Conclusion
When the chocolate has reached 83°F, heat the sides of the bowl with a hair blow dryer in 5- to 10-second increments until the temperature reaches 87°F. This is the recommended temperature range for tempering chocolate. Dip a spoon into the chocolate and set it aside for about five minutes to check the temper. It should be bright and firm after drying. Start dipping your caramels, biscuits, or fruit if it passes the tempering test. Keep an eye on the temperature, and if the chocolate starts to cool, zap it with the hairdryer for a few seconds to bring it back to room temperature. If the chocolate appears oily on top, has streaks, or blooms (fats rise to the surface, giving the chocolate a chalky, white appearance, as seen on the right), it is not tempered, and you will need to set it before trying to temper it again.