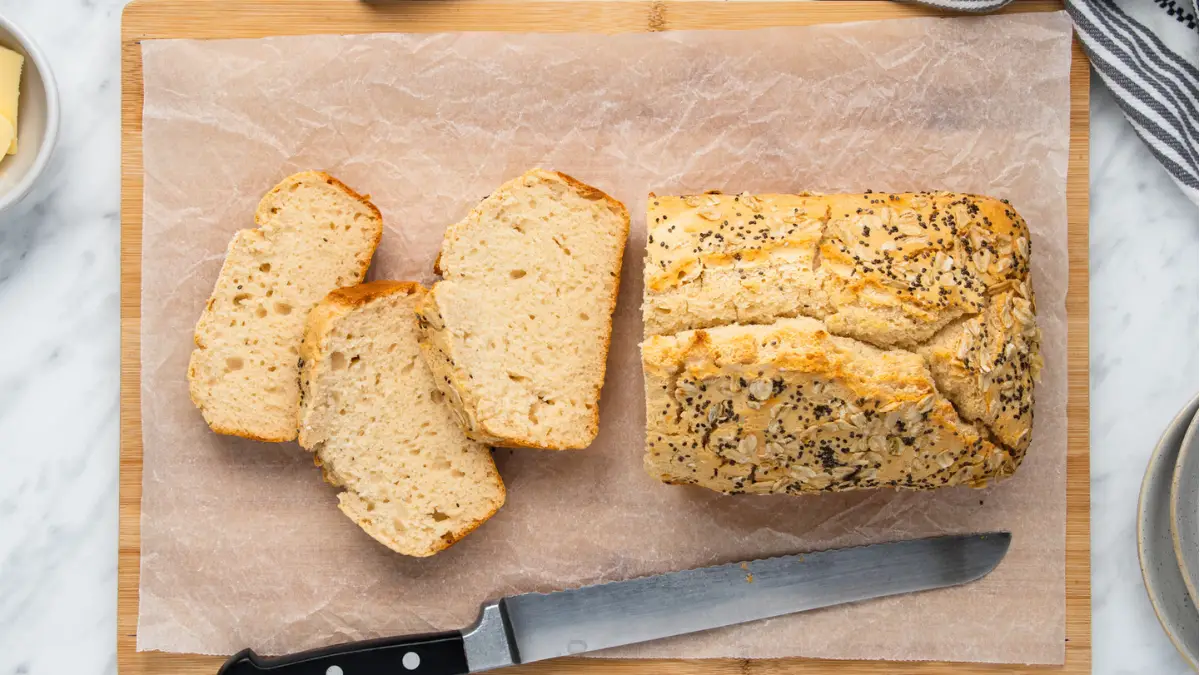
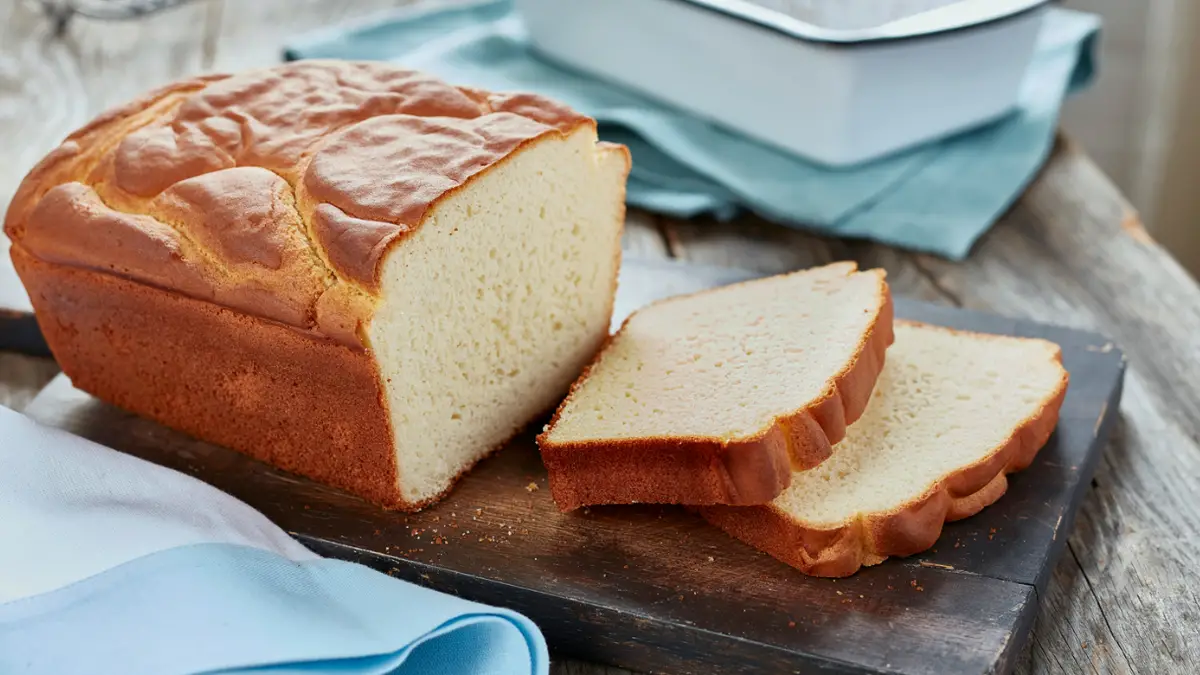
This gluten-free bread is the real treat, with a deliciously crunchy caramelized crust and a soft, chewy open crumb. Like traditional wheat bread, it may be shaped and worked through two rising cycles. Additionally, making it is straightforward, vegan, and doesn’t require any dairy or eggs. There may be affiliate links in this article that enable me to receive a small payment for your click-through at no additional cost to you.
How to Make Gluten-Free Bread?
The gummy, chewy inside. The bread has a great open crumb with the ideal amount of crunch that any good bread should have, making it “pillowy soft” in every bite—the crisp, caramelized crust. The crust explodes and crackles when you cut into it, and it is brimming with the fantastic flavours that caramelization has made possible—the flavour. Compared to a loaf of regular bread, the taste of this gluten-free loaf is closest to whole wheat.
It has a healthier and more complex flavour than a standard loaf of white bread since buckwheat flour is used. However, it doesn’t have the overpowering, slightly acidic taste that rye bread, for example. It’s a beautiful loaf that is perfect for daily usage and goes nicely with hummus, butter and jam or in a toasted cheese sandwich.
Not only is it gluten-free, but it is also vegan. Yes, neither dairy nor eggs are present in this recipe. Very adaptable and dependent on the ingredients you have on hand. A comprehensive list of substitutions is included at the end of this page and inside the recipe card because I know that you might not have all the ingredients on hand. Easy to create. I recognize that making your gluten-free bread may seem daunting or challenging. However, I can guarantee you that it isn’t at all. And the results are so worthwhile, my goodness.
Ingredients
- 2 1/2 tsp of active dried yeast, 8 grams
- 20 g (2 tbsp) of caster or superfine sugar
- split into 390 g (1 1/2 cups + 2 tbsp) of warm water
- 1/4 cup of psyllium husk, 20 g (rough husk form)
- Buckwheat flour, 130 g (3/4 cup plus 3 tbsp).
- Potato starch, 100 g (1/2 cup + 3 tbsp) (NOTE: this is different from potato flour)
- Brown rice flour, 90 g (1/2 cup plus two tablespoons) (needs to be very finely ground, “superfine”)
- 10 g (2 tsp) of sea salt or table salt
- Apple cider vinegar, 12 g (2 tsp).
Instructions
- Combine the yeast, sugar, and 150 g (1/2 cup + 2 tbsp) of warm water in a small bowl. Wait for 10 to 15 minutes until the mixture begins to foam.
- Combine the psyllium husk and 240 g (1 cup) of water in another basin. In between 15 and 30 seconds, a gel will start to form.
- The buckwheat flour, potato starch, brown rice flour, and salt should all be thoroughly blended in a large basin.
- The dry ingredients should be combined with the yeast mixture, psyllium gel, and apple cider vinegar. For five to ten minutes, knead the dough until it is smooth and beginning to pull away from the bowl. You can knead by hand or with a dough hook attached to a stand mixer.
- Place the bread on a surface that has been lightly oiled, then gradually knead it into a smooth ball. The dough should be placed side down in a lightly oiled basin, covered with a moist tea towel, and let rise for about an hour, or until it has doubled in size, in a warm location.
- When the dough has risen, turn it onto a surface lightly dusted with flour and gently knead it while making a tight ball (see post for step-by-step photos). To seal the seams, turn the seam side down onto a portion of the work area that isn’t dusted with flour.
- Put the dough, seams up, into a 7-inch round proving basket coated with brown rice flour. For about an hour, or until it has doubled in size, proof the mixture in a warm location under a damp tea towel.
- Set a cast iron skillet on the middle rack of the oven or a Dutch oven/combo cooker on the lower middle rack and preheat the oven to 480 oF (250 oC) while the loaf is proving. Place a baking sheet on the bottom shelf of the oven if you’re using a skillet.
- Once the dough has doubled in size, please remove it from the bread basket onto a sheet of baking paper and use a sharp knife or bread lame to score the top with a pattern of your choice (the most straightforward way is a cross, about 14 to 12 inch deep). After removing the hot cast iron skillet, Dutch oven, or combination cooker from the stove, place the bread inside with the baking paper.
- The simplest way to do this using a skillet or combo cooker is to place a pizza peel or baking sheet underneath the baking paper and then use it to carefully push the bread into the hot skillet/combo cooker. Use the baking paper’s sides as handles to transfer the bread into a Dutch oven.
- If using a skillet, place it in the oven, add hot water to the bottom baking sheet, then place three to four ice cubes around the bread (between the two halves).
- Close the oven door after placing the skillet and baking/greaseproof paper inside.
- If using a Dutch oven or combination cooker, insert 3 to 4 ice cubes around the bread (in the space between the baking or greaseproof paper and the walls of the Dutch oven or combination cooker), seal it, and bake it.
- For the first 20 minutes of baking, bake at 480 oF (250 oC) with steam; do not open the Dutch oven or the oven doors during this time because doing so would cause the steam to escape.
- Reduce the oven temperature to 450°F (230°C) after 20 minutes, uncover the Dutch oven/combo cooker, remove the bottom tray with water, and bake for 40–50 minutes without any steam. The finished loaf ought to be a rich, dark brown hue. Cover the loaf with aluminum foil with the shiny side facing up if it begins to brown too rapidly, and bake it for an additional few minutes.
- Place the bread loaf on a wire cooling rack to finish cooling.
- Storage: The gluten-free bread lasts between three and four days when kept in a closed container or wrapped in a tea towel in an excellent, dry location.
What is Gluten-Free Flour is Best for Bread?
Because you can manage the amount of xanthan gum in your recipe and the combination of refined starches offers a variety of texture possibilities, gluten-free all-purpose flour is perfect for yeast baking. Although this flour is excellent for creating bread, you can also use it to make other baked goods. This gluten-free flour’s fine texture makes it perfect for use in gluten-free pasta dough, pie crust, and pizza. An ordinary flour is rice flour, which is the most frequently used in gluten-free baking. This is due to the texture’s exceptional lightness, fineness, and faint graininess.
Since rice flour has a very mild flavour, additional flours can be added to produce the ideal baked good that is free of gluten. Don’t panic if your recipe calls for bread flour; all you have is all-purpose. Although your loaf of yeast bread may have a less chewy texture and probably won’t rise as much as a loaf baked with high-gluten flour, you can substitute all-purpose flour for bread flour one to one. If you’re working on a recipe that calls for bread flour, but you don’t have any on hand, you can use an equal amount of all-purpose flour as a substitute to avoid going to the store and save some money.
How do you Remove Gluten from Flour?
The main components of the flour are separated by a procedure called centrifugation. Gluten, which is not water-soluble, does not dissolve along with the starch and other ingredients. After centrifugation separates the starch and gluten, the gluten is adequately cleaned and dried. By gently washing dough under flowing water, gluten can be easily made. With most of the soluble and particulate debris removed, a proteinaceous mass is left behind, which keeps its cohesion when stretched.
Gluten proteins are shielded by solid fats, oils, and egg yolks, which stop them from forming strong, lengthy strands. Ever ponder the origin of the name “shortening”? Due to the gluten shortening. Flour can become water-resistant by adding fat. Cake flour, with only 7-9% gluten, is the flour with the least quantity of gluten in it. Cake naturally uses it, but so do muffins and delicate cookies. 8–11% of all-purpose flour contains gluten. It can be used to produce pastries, cookies, pie crusts, waffles, and other baked goods.
Do you Need Baking Powder with Gluten-Free Flour?
To achieve sufficient leavening, use two teaspoons of baking powder per cup of gluten-free flour. Baking soda and buttermilk can be used in place of baking powder to leaven baked goods, but you must add 1-1/8 teaspoons of cream of tartar for every 1/2 teaspoon of baking soda. It would help to substitute an alternative thickening agent for gluten in your baking, such as xanthan gum or guar gum. Add at least one teaspoon of the gluten alternative to each cup of the gluten-free flour mixture. This is derived from the dried cell coat of the Xanthomonas campestris bacterium.
Turning your oven to 200 degrees Fahrenheit, turning it off after it reaches that temperature, and setting a shallow baking pan partially filled with hot water on one of the shelves are simple ways to help gluten-free bread rise.If in doubt, check the bag’s back, but a one-to-one swap should be just that: Put one cup of gluten-free flour instead of one cup of all-purpose flour. Stabilizers such as xantham gum, which offer the structure lost without gluten, are crucial components in all-in-one blends. It’s critical to provide moisture because baking without gluten tends to be dry. This can be accomplished by adding more vegan butter or oil, fruit purees like applesauce or pumpkin, or brown sugar instead of white sugar.
What does Vinegar do in Gluten Free Bread?
The dough is lightened by apple cider vinegar or similar acid. 500 g of gluten-free flour can add up to 4 Tbsp of acid. You won’t be able to taste it later, so don’t worry. You can add a packet of baking powder or cream of tartar baking powder to 500 g of flour to further lighten a yeast dough. A mild acid like vinegar aids in the breakdown of the proteins and carbohydrates in your bread, and the batter’s pH levels are altered. It can help your bread dough rise properly, have a moist crumb and an airy texture, and improve the flavour. To avoid over-browning the gluten-free bread, which takes longer to bake, start at a lower temperature—350° F.
To brown the ultimate result, raise the temperature by around 25°. If the bread is going too brown, you can alternatively keep a constant temperature and cover it with foil. Consider using a stand mixer if the loaves are denser than you prefer. While combining with a spoon or dough whisk can produce excellent results, it takes a lot of effort to achieve a smooth mixture, and some of our readers are giving up too soon. Given that it has such a strong flavour, vinegar is surprisingly frequently used in baked goods. But because vinegar is an acid, it’s often added to cake and cookie mixtures to mix with baking soda and begin the chemical process that produces carbon dioxide, which lifts the batters as they bake.
Conclusion
To begin with, there are many different gluten-free flours available on the market that can be blended in various ways. I selected these flours since they are simple to locate in any Indian kitchen. But feel free to test it out and make any necessary adjustments. Second, you shouldn’t worry if you don’t have a breadmaker or atta. The same loaf of bread ought to bake equally well in any typical oven or cooker. Finally, I omitted eggs from this recipe because I like vegetarian cuisine. However, if you want to help the bread loaf take its final shape, you can add a few egg yolks to the mixture.