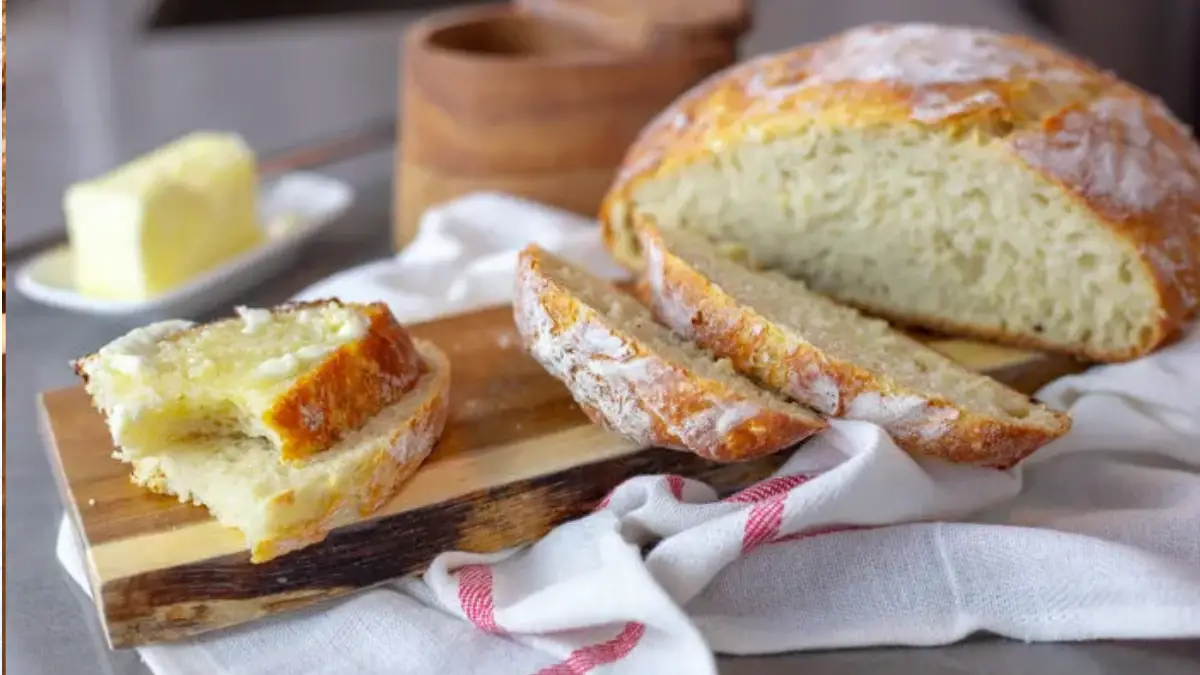
A no-knead bread recipe is just as simple to make as traditional homemade dough. Mix the dry ingredients and lukewarm water until a soft dough forms. Cover the bowl and allow it to rise in a warm place for at least an hour. Then, move the dough to a parchment paper-lined baking sheet and bake. Add fresh garlic, nuts, or herbs to make no-knead bread.
No-knead bread recipe requires only five ingredients: flour, water, yeast, sugar, and salt. The dough will rise slowly at room temperature, and the yeast needs time to work its magic. Before you start baking, check the expiration date of your yeast, and look for the date stamped on the package. Make sure that you buy the correct type of yeast to prevent contamination. In addition to kneading, a no-knead bread recipe also recommends letting the dough rise overnight.
What is Exactly No-Knead Bread?
Instead of kneading the dough to create the gluten strands that give the bread its texture, no-knead bread employs a very long fermentation (rising) time. It is distinguished by a very wet dough and a low yeast level. Several recipes get a better crust by baking the bread in a Dutch oven or covered container. Prepare a sizable plastic bucket in advance to create no-knead bread.
Put some plastic wrap or a lid on the bucket. After that, place the dough in the big bowl and let it rise. The dough should have doubled in size after two hours. When lightly poked with a fingertip, the dough should leave an indentation and be sticky. It will spring back once it has risen high enough.
The Best No-Knead Bread Recipe
Here is one of the best No-Knead Bread recipes:
Ingredients
- 4 cups (480g) of all-purpose flour, plus more for shaping the dough
- One teaspoon instant (“rapid rise”) yeast or active dry yeast dissolved in water
- 1 1/2 teaspoons salt
- 1 1/2 cups room temperature water
- About 1/4 cup cornmeal or all-purpose flour for the final Rise
Method
Here are the steps to follow:
1. Mix the dough
Mix the flour, yeast, and salt in a big bowl. Create a well in the flour and fill it with water. Till all the flour is combined, combine with a spoon or your hands, and it will be a soft, sticky dough. You may also rapidly combine this in the bowl of a stand mixer fitted with the paddle attachment and let the dough rise there.
2. Let the Dough Rise
Overnight is preferable. Wrap the bowl in plastic wrap and keep it at room temperature for 8 to 24 hours. The dough can be chilled after the initial Rise. To form a ball, stretch and fold the borders toward the center, deflating the dough and redistributing the yeast. For up to 5 days, refrigerate the bowl in the refrigerator covered with plastic wrap. Before usage, bring to room temperature.
3. Line a Baking Sheet with Parchment Paper
Cornmeal or flour should be liberally sprinkled on a baking sheet before lining it with parchment paper that has been cut into about 15-inch squares.
4. Shape the Dough
Turn out the dough on a surface that has been liberally dusted with flour. Reach under one side of the dough and stretch and fold it over the top of the dough in the direction of the center with floured hands. Turn it once, then repeat. Do this two to four times. The dough gets deflated; as a result, improving its structure.
To form a smooth-bottomed ball, pat the dough into a thick square and bring all four corners toward the center. Firmly pinch the ends together. Turn the dough over and use cupped hands to form a smooth-topped ball.
5. Let the Dough Rise Again
Place the seam side of the dough down on the parchment paper as prepared. If desired, sprinkle the top of the loaf with about one teaspoon of flour and smooth it with your fingers. Cover loosely with a dish towel or cloth napkin. Let the dough rest for one and a half to two hours, or until it has roughly doubled in size and is fluffy and light to the touch.
6. Heat the Dutch Oven
Place a rack in the lower third of the oven and preheat it to 500°F about 45 minutes before the loaf is ready to be baked. Preheat a 5-quart cast iron or enameled cast iron pot with a lid in the oven when ready to bake.
7. Score the Dough
When the dough has risen, make a single deep gash across the center of the loaf’s top using a bread scoring or serrated knife. To make a total of 5 cuts, make two successively smaller slashes on either side of the center slash.
8. Bake the Loaf
Remove the lid and take the pot out of the oven. Place the bread in the pot after carefully lifting the parchment. If the pan is not flat, push the parchment into the sides with the handle of a wooden spoon. Put the pot’s lid on. For 30 minutes, bake the bread.
9. Reduce the Heat and Continue Baking
Remove the cover and lower the oven’s temperature to 450°F. Continue baking for another 20 to 25 minutes, or until the top is browned.
If you’d like, you can check the interior temperature of the bread using an instant-read thermometer; when the bread is done, it should read between 190 and 210 degrees Fahrenheit. It takes 50 to 55 minutes to bake everything.
10. Transfer the Bread to a Rack to Cool
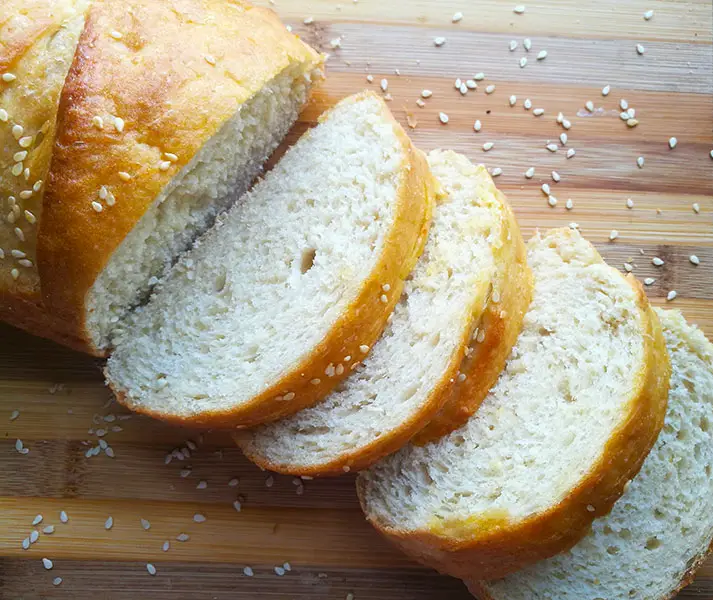
Carefully remove the bread from the pot with a metal spatula, then move it to a rack to finish cooling. Please wait until the bread has completely cooled before cutting into it! I know it’s difficult to resist, but it bakes and sets even more as it cools.
Variations on this No-Knead Bread Recipe
We prefer this in its original, ideal state, but there are always options if you want to change something.
- Gluten-Free: The outcomes were excellent when we used this flour. The outside became a hard crust, while the interior was light, airy, and just a bit spongy, resembling the actual thing. Some drawbacks include that the bread didn’t rise as much as the conventional version and, naturally, the flavor wasn’t quite the same.
- Whole Wheat: This and the original version are strikingly similar. The dough had the same consistency, rose in the same way, and had the same appearance when it came out of the oven with its crisp crust. Fewer air pockets and a denser texture may be found inside. Although to be expected with whole wheat flour, the flavor and texture were a little harsh and gritty, respectively.
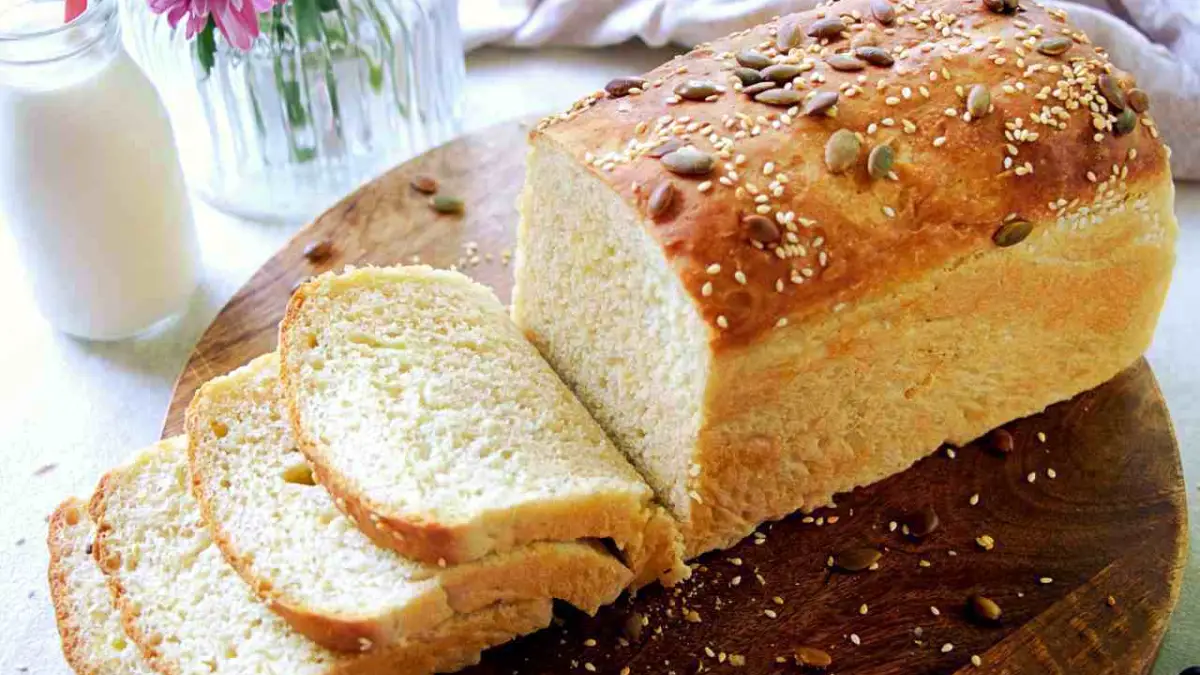
- Some Flavor: Use whatever herbs that sound delicious to you! Mix them, in the beginning, to avoid kneading late
Why does Bread Crust Go Soft After Cooling?
Moisture is the primary cause of your crust becoming mushy. Because the bread contains this moisture, you must allow it some breathing space while it cools. Place a cooling rack with adequate space and keep your bread on it.
A crisp crust on your bread depends on how it cools. It is crucial to place your bread on a cooling rack with plenty of space underneath it once it has finished baking and you have removed it from the oven. It’s crucial to leave enough room underneath the cooling rack because if the bread is too close to the counter, heat from the bottom of the loaf will reflect off the surface and then return to the bread, collecting steam that will wet the crust.
When you take the bread out of the oven, if it was in a baking pan or was placed on parchment paper, be careful to remove it from the pan and set it on a cooling rack. The same holds for crockpot-baked bread (Baking in a crockpot is a very popular and effective way to bake bread at home these days ).
Why and How No-Knead Bread Works?
To provide structure to contain the gasses that yeast produces so the bread will rise, yeast pieces of bread often need to be kneaded to develop gluten strands.
- What effect does this have on no-knead bread, then? The most straightforward explanation is that gluten floats more in a very wet dough, like this no-knead dough, and strands form on their own over time. Because of this, the rising period is significantly longer than in other bread recipes, and the lengthy Rise also gives the dough a wonderful flavor.
- A hot Dutch oven is the second essential component for baking a crusty loaf of bread. The bread bakes in a humid environment, which gives it a beautiful crisp crust, when the wet dough is placed in the hot pot and covered with the lid.
- The pot also functions as a little oven. Instead of being contained by the broader oven walls as if the bread were baked on an oven shelf, the heat is squeezed and focused around the loaf much more.
How will you Store Bread?
However, homemade bread always tastes better. The truth is that homemade bread does not keep as well as store-bought bread. After you’ve covered the first few slices with butter (oh, yeah! ), it’s better to freeze what’s left on the first day since it’s most savored the first day. I advise slicing and freezing the food to ensure that you only thaw the pieces you need. (I divide my slices easily for separation between wax paper.)
Here are some suggestions if you don’t freeze your bread on the first day:
- 1. Crusty bread can be stored uncovered at room temperature for the first day. By the end of the day, it’s best to wrap it in foil (not plastic) or a paper bag and kept at room temperature for a second day. After the second day, it’s best to freeze it.
- Crusty bread will not be crusty the second day. You can re-crisp it by putting it down on a piece of foil and placing it in a preheated 325° F oven, directly on your oven rack, for about 7-10 minutes.
- Crusty bread should not be stored in plastic, which softens the crust. Aluminum foil is a better choice.
- Crusty rolls are best frozen the day they are baked. To re-crisp, place frozen rolls directly on the oven rack in a preheated 325° F oven for 10-12 minutes, and they’ll be even more crispy than first-baked.
- A standard soft loaf is best stored tightly wrapped in foil or plastic at room temperature for up to 2 days, and after that, it should be refrigerated or frozen.
Conclusion
There are numerous advantages to no-knead bread. It not only tastes fantastic, but it’s also simple to create. Making fresh bread is surprisingly easy using a no-knead recipe, and it is simple to create without any extra equipment, and you may have a great loaf of bread in about an hour.
Beginners in bread making will benefit greatly from this recipe for no-knead bread. It has only four basic ingredients and takes five minutes to make. The simplicity of this recipe will astound you. Additionally, it’s the best option for people with a hectic schedule or little free time. You’ll produce fresh loaves of bread each time you perfect the no-knead bread technique.