
Sourdough is famous for its tangy flavor, chewy texture, and crisp, crackly crust. When compared to supermarket loaves, it wins in terms of health. The naturally occurring acids and long fermentation process help to break down the gluten, making it more digestible and easy to absorb by the body and it tastes fantastic. Making a good loaf of sourdough bread feels like competing for a World Cup or an Olympic gold medal for many of us home bakers.
Sourdough bread is leavened with Lactobacillus bacteria and wild yeasts, as opposed to packaged yeast. A sourdough starter is a mixture of bacteria and wild yeast. It is created by combining flour and water and allowing it to sit until microbes colonize and ferment it.
What Exactly is Sourdough Bread?
Sourdough bread is made by fermenting dough with wild Lactobacillaceae and yeast. Lactic acid from fermentation imparts a sour flavor and improves storage properties. Sourdough bread is naturally leavened, which means it does not rise with commercial yeast. Instead, it rises with a starter,’ which is a fermented flour and water mixture containing wild yeast and good bacteria.
This results in the tangy flavor and slightly chewy texture characteristic of sourdough. Wild yeast has a stronger flavor than commercial yeast and is natural in that it contains no additives. Sourdough bread is made from naturally occurring yeast and bacteria in flour.
How to Make Sourdough Bread?
Wild yeast is used exclusively to make sourdough bread; you won’t need any commercial yeast if your sourdough culture is robust and active. Sourdough bread is typically mixed, shaped, and baked over the course of a day, or even several days, as wild yeast needs a little more encouragement and functions a little more slowly than commercial yeast. This prolonged, slow development time aids in bringing out more complex, nuanced flavors in the finished bread, flavors that are far beyond those of your typical loaf of sandwich bread.
While undoubtedly the star of this show, the sourness of the bread is not caused by the wild yeast. The friendly bacteria Lactobacillus and lactobacillus, which coexist with the wild yeast in the sourdough culture and aid in the fermentation of the dough’s sugars, are responsible for the distinctly sour flavor.
Additionally, keep in mind that sourdough pieces of bread don’t always taste sour. The sour flavor can be very strong or it can be more subdued, depending on how you make your starter and bake your bread. This recipe achieves a nice balance between a touch of sourness and a nice assortment of sweet, earthy, and yeasty flavors.
Ingredients:
As for the leaven:
- 1 tablespoon sourdough starter that is active
- 75 grams (1/2 cup) of bread flour or all-purpose flour
- 1/3 cup of 75 grams of water
Making the dough:
- 2 1/2 cups of water, or 525 grams, divided
- 1 teaspoon of salt
- 5 1/2 cups or 700 grams of bread flour or all-purpose flour
Equipment:
- For the bowls, use plastic wrap or another covering.
- cake scraper
- Colanders, mixing bowls, or baskets for proofing bread
- large, heavy-bottomed pots with lids or Dutch ovens
- serrated, dull, or lame knife
Instructions:
- Verify the status of your sourdough culture. Take your sourdough out of the fridge two to three days prior to baking if it has been there. Before you start making the bread, feed it every day to ensure that it is healthy and active.
Make the leaven, then let it sit for the entire night. Place all the leaven ingredients in a sizable bowl the night before you intend to make the dough, and stir well to create a thick batter. Overnight, or for about 12 hours, cover and leave the object at room temperature. - Verify the readiness of the leaven. Typically, leaven is ready to use when its surface is very bubbly. A small spoonful of the leaven can be dropped into a cup of water to test its readiness. If the leaven floats, it is ready.
- Salt must be dissolved. In a small bowl, combine the salt and 50 grams (or about 1/4 cup) of water for the dough. Stirring occasionally to ensure that the salt dissolves, set aside.
- Combine the water and leaven. The remaining 2 cups (475 grams) of dough-related water should be added to the leaven bowl. In order to break up and dissolve the leaven in the water, stir with a spatula or your hands. Even a few small clumps of undissolved leaven are acceptable.
- Put the flour in. When there are no more traces of dry flour, add the flour and stir with a rubber spatula until the mixture forms a very shaggy dough. let the dough rest (30 minutes, or up to 4 hours). Use a fresh kitchen towel or plastic wrap to cover the bowl. Allow the dough to rest for up to 4 hours or at least 30 minutes. At this point in the autolyze process, the flour has completely absorbed the water and the enzymes inside have started to digest the proteins and starches.
- Add salt and stir. Over the dough, pour the dissolved salt. By pinching and squeezing the dough, incorporate the liquid and salt. At this stage, the dough will feel quite wet and loose.
- The dough should be folded (2 1/2 hours). Grab the dough by one side, lift it up, and fold it over on top of itself to fold the dough. From the top of the bowl, fold the dough four times in a clockwise direction (or give the bowl a quarter turn in between folds). Repeat after giving the dough 30 minutes to rest. Every half-hour, repeat this a total of 6 times for a total of 2 1/2 hours. As you continue folding, the dough will gradually smooth out and tighten up from its initially shaggy and very loose state.
- Do not disturb the dough as it rises (30 to 60 minutes). Once the folds are complete, cover the dough and allow it to rise without being touched for 30 to 60 minutes, or until it appears slightly puffed. This dough should just appear bigger than when you started because it won’t double in size the way regular, non-sourdough loaves of bread do.
- The dough is divided. Turn the dough out onto a work surface that has been dusted with flour. To prevent deflating the dough, handle it gently. The dough should be divided in half using a pastry scraper.
- Create loose rounds out of the dough. Each piece of dough should have a light dusting of flour. Each one should be shaped into loose rounds using your pastry scraper; this is just a first shaping to prepare the dough for more shaping. By slipping your pastry scraper under the dough’s edge and then scraping it around the dough’s curve, much like turning left in a car, you can shape them into rounds. Repeat this a few times to increase the surface tension in the dough (doing it rather than reading about it makes more sense!). If necessary, flour your pastry scraper to prevent it from adhering to the dough. let the dough rest (20 to 30 minutes). After shaping both pieces of dough, allow them to rest for 20 to 30 minutes to allow the gluten to relax once more before finishing shaping.
- Prepare two mixing bowls, colanders, or baskets for bread proofing. 2 clean mixing bowls, colanders, or bread-proofing baskets should be lined with the towels. They should be heavily dusted with flour, and you should use your fingers to work the flour into the cloth’s sides and bottom. Use more flour than you believe you’ll require; it should form a thin coating on the towel’s surface.
- Construct the loaves. One of the dough balls should have flour dusted on top of it. With the help of a pastry scraper, turn it over so that the sticky, surface is up and the floured side is against the board. Similar to how you folded the dough earlier, form the loaf: Take hold of the dough’s bottom lip, gently pull it up, and then fold it over onto the middle of the dough. Repeat on the dough’s right and left sides. Repeat the process with the top of the dough, but after folding it downward, gently roll the dough right-side up by grabbing the bottom lip with your thumb once more. Cup your palms around the dough and rotate it against the counter to give it more shape if it’s not quite round or doesn’t seem taut to you. Continue by using the second dough ball.
- Transfer to the baskets for proofing. Sprinkle a lot of flour on the shaped loaves’ tops and sides. The shaping seams should be on top as you place them in the proofing baskets.
- The dough to rise (3 to 4 hours, or overnight in the fridge). Place the baskets inside clean plastic bags or cover them loosely with plastic wrap. Allow them to rise at room temperature for 3 to 4 hours, or until they appear puffy and billowy. Alternatively, you could put the covered basket in the fridge and let the bread rise gradually for 12 to 15 hours. There is no need to warm the loaves before baking if they are rising overnight.
- The oven temperature is set to 500 °F. Heat the oven to 500°F, then put two Dutch ovens or other heavy-bottomed pots with lids inside. You can bake each loaf separately if you don’t have two pots. To the Dutch ovens, transfer the loaves. Remove the lid from one of the heated Dutch ovens and carefully remove it from the oven. Place the loaf seam-side down in the pot. Continue by using the second loaf. If your loaf adheres to the basket, refer to the recipe note.
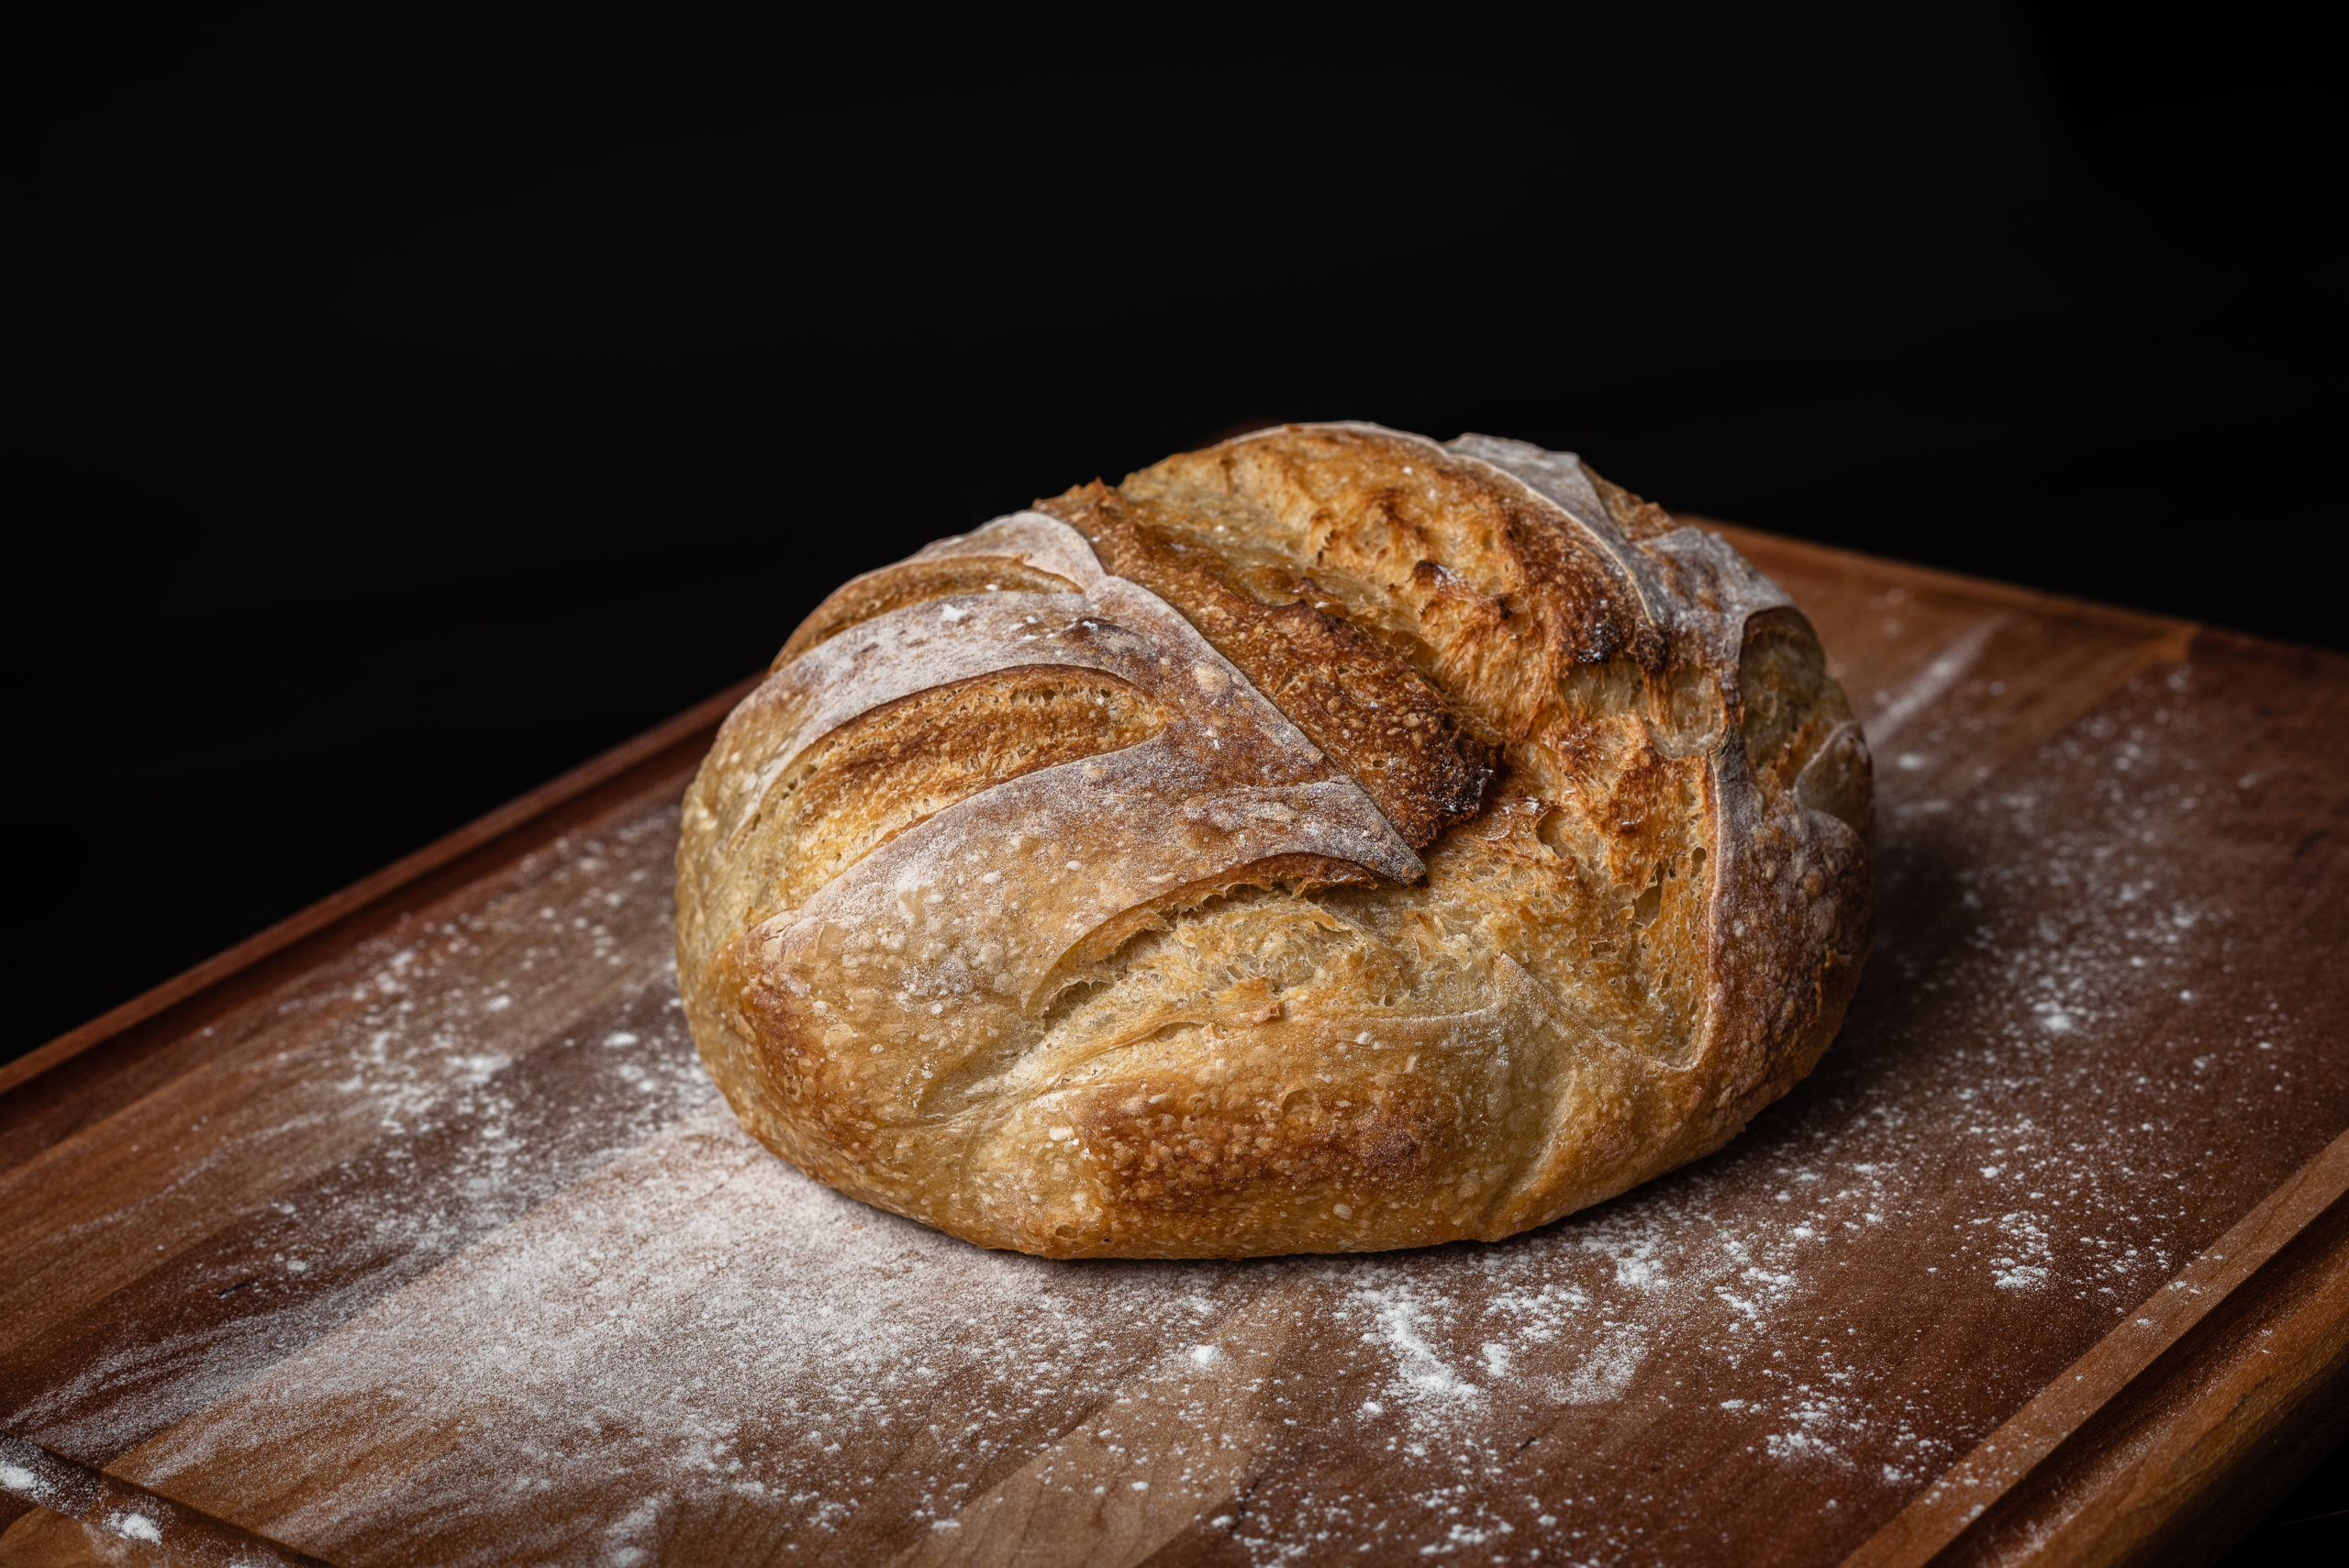
- The loaf’s top should be scored. Score the surface of the loaves quickly with a dull, sharp knife or serrated knife. In order to give the loaves their distinctive “shelf” along the score line, try to score at a slight angle so that you are cutting almost parallel to the surface of the loaf.
- The loaves should bake for 20 minutes. For 20 minutes, bake with a cover. Bake for an additional 10 minutes at 450°F on the lower heat setting. Resist the temptation to check the loaves at this point; just reduce the oven temperature to 450°F. Bake another 10 minutes.
- After 15 to 25 minutes of baking, remove the lids. Uncover the pots to release any remaining steam. At this point, the loaves should have “sprung” up, have a dry surface, and be just beginning to show golden color.
- Bake another 15 to 25 minutes. Continue baking uncovered until the crust is deeply browned; aim for just short of burnt. It might feel a bit unnatural to bake loaves this fully, but this is where a lot of the flavor and texture of the crust comes in.
- Cool the loaves completely. When done, lift the loaves out of the pots using a spatula. Transfer them to wire racks to cool completely. Wait until they have cooled to room temperature before slicing.
Is Sourdough Bread Superior to White Bread?
Sourdough bread contains more vitamins, minerals, and antioxidants than other types of bread. It also contains less phytate, which allows your body to absorb the nutrients it contains more easily than regular bread. That is correct! For a variety of reasons, scientists, nutritionists, and health experts all agree that naturally-fermented sourdough bread is healthier than regular white or whole-wheat bread.
Sourdough bread is higher in nutrients, easier to digest, and has a lower glycemic index. Sourdough bread also contains less gluten than other types of bread. So much so that people with gluten sensitivities can frequently eat artisan or homemade sourdough bread with little to no ill effects.
If you’re new to sourdough and don’t yet have a starter, learn how to make one from scratch here. Choose the safest option and purchase a living organic sourdough starter. Then you can proceed to make healthy sourdough bread, focaccia, pizza crust, crackers, cornbread, and other treats.
Sourdough bread is made with a sourdough starter, a fermented mixture of flour, and natural yeasts that aid in the rise of the bread. Because the fermentation process breaks down gluten, which can cause bloating and other digestive issues, it is more digestible than regular bread. Because of the lactic acid in sourdough bread, your body absorbs more nutrients from it than it would from regular white or wheat bread.
Is Sourdough Bread Gluten-Free?
Although wheat sourdough bread has less gluten than regular yeast bread, it is not gluten-free. Regular sourdough bread is not gluten-free if you have celiac disease. Instead, buy gluten-free sourdough bread or set aside a few days to activate your own gluten-free sourdough starter.
Gluten is a protein found in wheat, rye, and barley that those with celiac disease or gluten intolerance must avoid. There is some misinformation floating around the internet about sourdough bread being safe for people with celiac disease and gluten sensitivity. Some brands even falsely claimed that their wheat-based sourdough bread was safe for celiac patients.
While the natural bacteria make it easier to digest, and the fermentation process reduces the amount of gluten, it still does not meet the gluten-free standard of 20ppm (parts per million) or less. It is important to note that even if a person with celiac disease does not experience symptoms after eating wheat-based sourdough bread, villi damage may still occur. Use gluten-free flour for the starter and gluten-free ingredients for all sourdough baking if you have celiac disease or gluten sensitivity.
Is Sourdough Bread Healthy?
A great source of vitamins and minerals is sourdough bread. Sourdough bread’s health benefits can, however, make it difficult for those who have certain medical conditions. Particularly rich in nutrients that the body can easily absorb is sourdough bread. Antioxidants are also abundant in sourdough bread.
According to studies, antioxidants like the peptides in sourdough can reduce the risk of developing certain cancers, aging-related symptoms, or chronic illnesses like rheumatoid arthritis. Sourdough bread is a rich source of vitamins and minerals.
However, the same qualities that make sourdough bread so healthy can also create complications for people with certain medical conditions. Compared to white bread, sourdough bread may help you maintain more stable blood sugar levels. The sourdough-producing bacteria also have a special impact on the bread’s starch. Additionally, sourdough contains less gluten than other types of bread. It seems that gluten is being degraded by the bread’s acid. As a result, sourdough may be easier on the stomach for those who are gluten intolerant.
Which Flour Makes the Best Sourdough Starter?
Whole grain flour should be added because it tends to make the bread taste sourer for two reasons, especially whole rye flour (pumpernickel). First, the type of sugars present in whole rye (or whole wheat) flour promotes a shift in the production of acetic acid. Your sourdough starter will greatly benefit from an addition of rye flour if it was made from white, processed flour.
Theoretically, any flour derived from grains can be used to create a sourdough starter. All types of flours—including wheat, rye, spelled, einkorn, and rice—work. But bread flour functions the best and produces the most dependable starter. Your sourdough starter will become stronger relatively quickly with the help of rye flour, which is like a superfood for it. Rye flour starters are known to work exceptionally well.
Conclusion
Sourdough fermentation has long been used to improve the flavor and structure of bread. The use of sourdough improves the aroma, flavor, nutritional value, and shelf-life of the bread. Sourdough bread acts as a prebiotic, which means that the fiber in the bread helps feed the “good” bacteria in your intestines, according to some studies. These bacteria are essential for a stable and healthy digestive system.
Sourdough bread also contains less gluten than other types of bread. For a variety of reasons, scientists, nutritionists, and health experts all agree that naturally-fermented sourdough bread is healthier than regular white or whole-wheat bread. Sourdough bread is higher in nutrients, easier to digest, and has a lower glycemic index. Sourdough bread also contains less gluten than other types of bread.