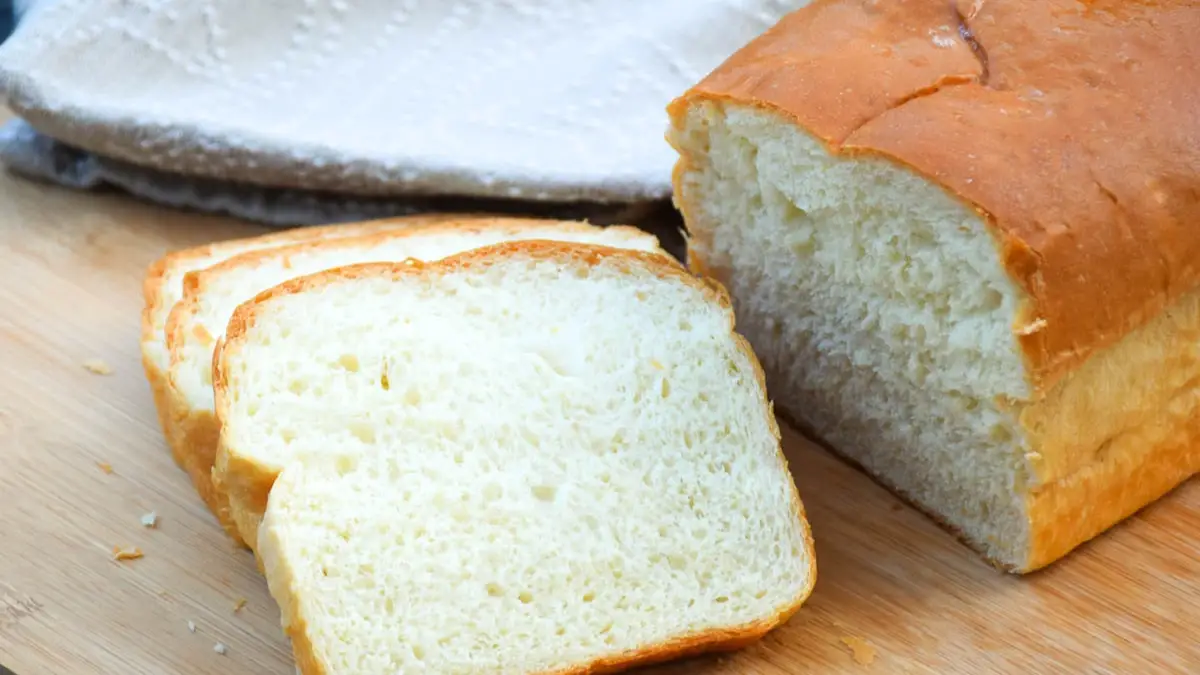
Homemade bread has much higher quality than store-bought loaves. It is really easy to make and only needs a few simple ingredients. After making white bread with this straightforward, step-by-step technique, you won’t want to buy box bread again. With these deliciously fluffy slices that hold up well, every sandwich becomes a sumptuous meal. With butter and jelly or grilled cheese, this homemade bread is delicious. Spread some butter on top or use it to create your favorite sandwiches.
How to Make White Bread?
First, combine the warm water, honey, and one tablespoon of sugar in a sizable mixing basin. After adding the yeast, wait for the mixture to become bubbly and foamy, around 5 to 10 minutes. You must start over with fresh yeast if it isn’t foaming.
If your yeast doesn’t foam, the water was either too hot, or the yeast was probably too old (or it could be both). It’s not as terrifying as it sounds. I have never had yeast that doesn’t foam in my entire life.
The remaining sugar, 2 cups of flour, oil, and salt should all be added to the proofed yeast. After thoroughly combining, add the remaining flour, 1 cup at a time, while continuing to mix with the dough hook of your mixer. Once all the flour has been added, knead the dough for 5 to 7 minutes on medium speed, or until it is nice and smooth and pliable and the edges of the basin are clean.
You may alternatively accomplish this by hand by kneading in the remaining flour by hand after using a strong wooden spoon to mix in the flour up until that point.
For the last minute of shaping it into a smooth ball and because with practice and time, you will grow to know the feel of your bread dough; I always like to turn out my dough onto a lightly floured surface. As long as your hands are dry, this dough should be extremely workable and not too sticky. If the dough is sticky, add more flour to your hands and work area and knead until it is manageable.
Put a little oil in the bottom of a clean bowl (or the bowl it was originally in) and transfer the dough. The dough should be turned over to coat it in the oil lightly; then, it should be covered with plastic wrap or a clean dish towel and let rise for approximately an hour, or until it has doubled in size.
Ingredients
- 2 cups of warm (around 110 °F) water
- sugar, 1/3 cup (67g)
- Honey, two tablespoons
- 1 1/2 teaspoons dry active yeast
- 1/4 cup canola or vegetable oil
- Salt, 1 1/2 teaspoons
- 5 1/2 to 6 cups leveled and scooped bread flour (846g)
- To brush or rub on top of the baked loaves, use two tablespoons of salted butter.
Instructions
- Add the warm water, sugar, honey, and yeast to a stand mixer’s big bowl with the dough hook attachment, and whisk to combine. Allow the yeast to proof for 5 to 10 minutes or until frothy.
- When the yeast starts to bubble, add the salt and 2 cups of flour, and stir thoroughly. Continue adding flour, one cup at a time, and kneading the dough with the dough hook on medium speed for about 5 minutes, or until it is smooth. If you don’t have a mixer with a dough hook attachment, you may alternatively do this by hand for 7-8 minutes.
- Transfer the elastic, smooth dough to a sizable greased basin, rotating the dough to coat it with oil lightly. The dough should rise for about an hour, covered with plastic wrap until it has doubled in size.
- Punch down the dough when it has risen (literally, make a fist and push it once or twice right in the center of the risen dough). Divide the dough in half, make two oblong logs, and shape them into loaves. Place each loaf into two oiled 9×5-inch bread pans. Allow the loaves to rise for 30-45 minutes, or until the dough has risen approximately 1 inch above pans, loosely covered with plastic wrap or a clean cloth.
- Set the oven to 350°F when the dough is almost ready to bake. Bake for 28 to 30 minutes, or until golden brown on top. When you thump the loaves, they should make a hollow sound, and a digital thermometer inserted into the center of each loaf should read 190°F.
- Using whichever method is most convenient for you, brush melted butter over the top of each heated loaf of bread before turning it out onto a clean surface or cooling rack. Sliced bread can be used for toast sandwiches or spread with butter, honey, or jam.
Tips for Perfectly Baked Bread
- Always prepare pans and gather tools before baking bread to ensure that milk and water are used at the correct temperatures.
- The best approach to check the ideal temperature of the milk and water before mixing is with a kitchen thermometer.
- Before removing the bread, allow it to cool in the pans until it is warm to the touch. On a wire rack, remove from the pan and let cool fully. Moisture will collect in the pan if the bread is allowed to cool in the pans.
Serving Suggestions
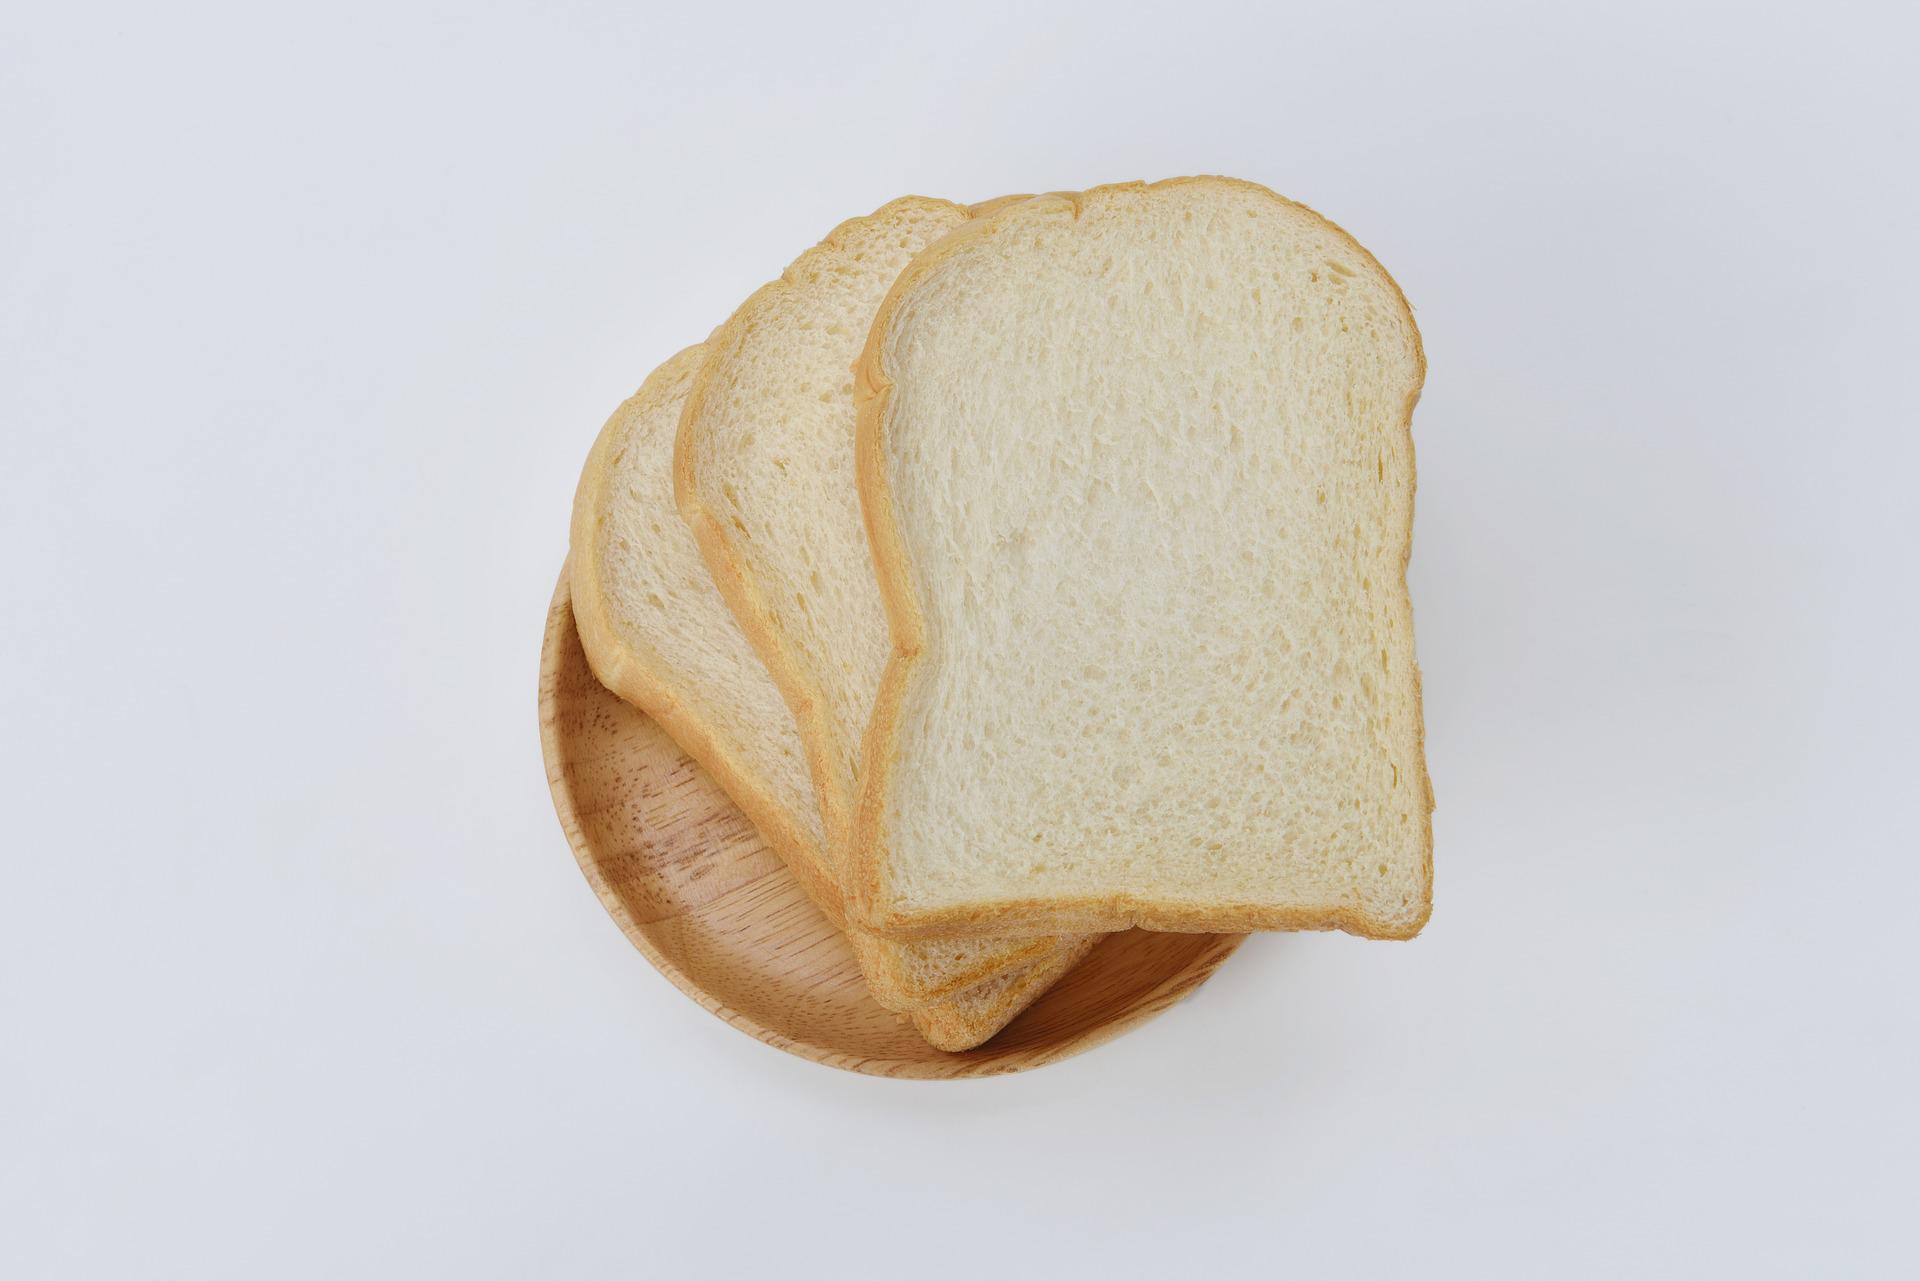
Warm, freshly baked white bread slices are delicious, with a pat of soft butter or lightly toasted in ghee.
For a delicious snack, sprinkle toasted bread with jams, avocado slices, or a dollop of your favorite nut butter.
Your creativity only limits the possibilities for sandwiches prepared with homemade bread! For starters, look through my selection of the 40 Best Sandwich Recipes.
How to Store Homemade White Bread?
Keep handmade white bread at room temperature or, in a sealed plastic bag or container, in the refrigerator, just like you would any other kind of bread. Since handmade white bread doesn’t include preservatives like store-bought bread, it doesn’t last very long. At room temperature, it will keep for approximately four days, and in the fridge, it will keep for about six days. Slices or completely cooled loaves can be frozen for up to 6 months by wrapping them in plastic and putting them in zipped bags with the date written on the outside.
Therefore, it’s crucial to store your homemade bread in a container with some ventilation so that it may “breathe.” This white bread can be stored for about 4-5 days. However, I prefer to slice the bread after it cools down and then store it in a container or sealable bag for later freezing (especially since I typically bake two loaves on the same day). This prolongs the bread’s freshness significantly! Then, I take the slices I require out of the freezer and thaw them as necessary.
Is Homemade White Bread Healthy?
Although making your bread requires patience and skill, the flavor and nutritional benefits make the work worthwhile. White, packaged bread might be unhealthy because of the chemicals and highly processed flour it contains. Too much white bread consumption has been linked to diabetes, heart disease, and obesity. Additionally, homemade loaves of bread may be higher in nutrients and lower in additives than those made by bakeries. However, purchasing bread with the word “whole” listed as the first component does not ensure a healthy product.
Not all white bread is harmful. According to FDA regulations, manufacturers add some of these elements back in along with others, including iron, folic acid, riboflavin, thiamine, niacin, and occasionally calcium, despite white bread being highly refined and stripped of many of its natural components. It might surprise you that processed meals include whole-wheat bread, homemade soup, and apple slices. While some processed foods should be consumed less frequently, many can be found in a balanced diet.
Is White Bread Gluten-Free?
Gluten can be found in most bread, crackers, and wraps. One can be certain by reading the ingredient list and confirming which grains are used. Avoid these if you have gluten intolerance: white bread additionally, gluten is added to food as a thickener or to add flavor and texture. The ingredient that gives bread and baked goods their chewy texture is gluten, which has a stretchy quality. Consuming whole grains, including wheat, barley, and rye, decreases the risk of diabetes, heart disease, and stroke. Wheat, rye, barley, and other grains contain a protein called gluten. Potatoes are naturally gluten-free because they are a vegetable and not a grain.
Natural digestive enzymes quicken digestion and help move gluten through the body more quickly. This makes potatoes a fantastic and adaptable option for anyone with a Celiac illness or who has trouble tolerating gluten. After symptoms have subsided, increasing your probiotic intake will help your body rebuild the beneficial gut bacteria that gluten has destroyed.
Conclusion
This Amish white bread recipe is my favorite go-to for making basic, traditional, soft, and tender bread. A soft, supple, and somewhat sweet, a homemade loaf of white bread is far superior to store-bought loaves and is much fresher. It’s the ideal homemade bread for toast, sandwiches, or simply enjoying straight out of the oven with butter & jam or honey! This simple homemade sandwich bread recipe is one that I have been using for years with just minor variations from the original, which was probably given to me by a college roommate or another person. I wish I could recall their name!
But it was this recipe that showed me the basics of breadmaking. With this straightforward, forgiving recipe, you will obtain two perfectly lovely, spherical loaves with a golden brown exterior and a soft, white interior. It’s ideal for everything from grilled cheese to PB&J to ham and cheese. You’re going to adore it without a doubt.